
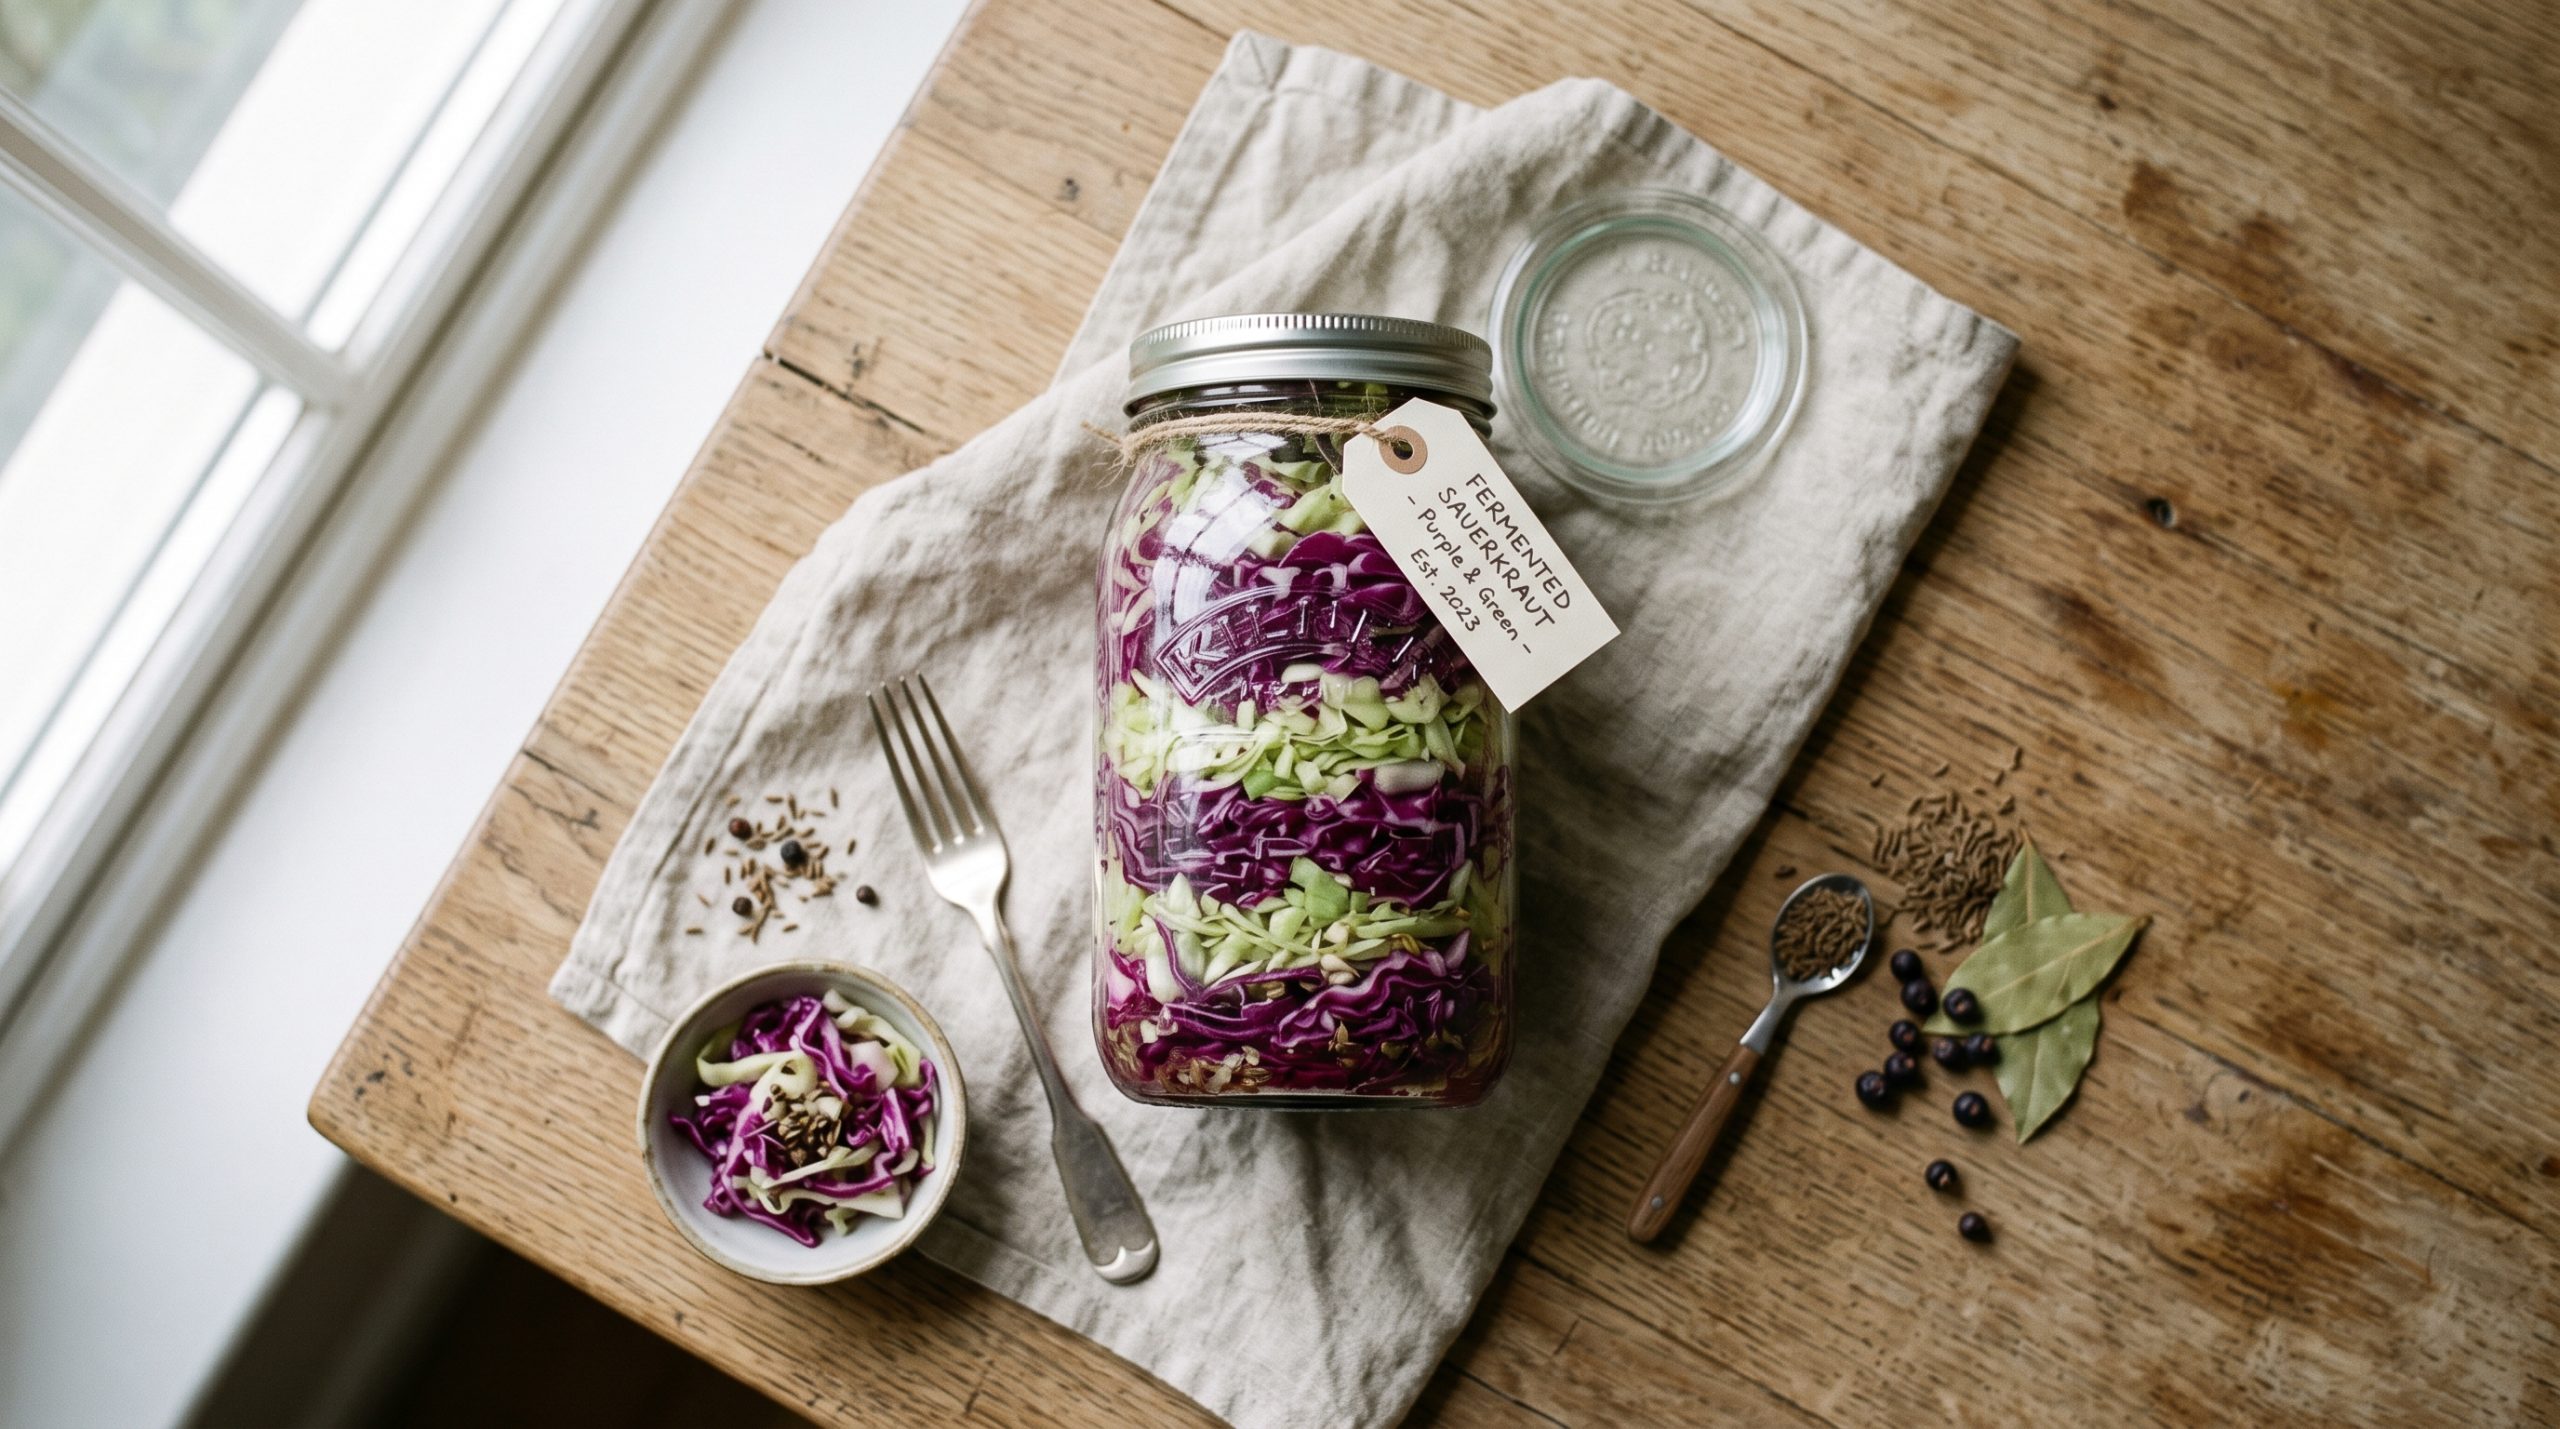
I put off making my own sauerkraut for almost two years because every tutorial I found made it look like a science experiment gone slightly wrong. Cloudy water, weird smells, crocks the size of a small trash can. Turns out none of that is necessary. All you actually need is cabbage, salt, a jar, and patience — and once you see it sitting on your counter in soft afternoon light, purple and green ribbons packed tight under brine, you start to understand why this has quietly become one of the most saved recipes on Pinterest this year.
Cabbage is having a real moment right now — search interest in cabbage recipes has climbed sharply over the past year, with fermented cabbage dishes leading the surge. And it’s not just an aesthetic trend. There’s an actual biological reason this vegetable, in its fermented form, keeps showing up in gut health conversations.
Why Fermentation Actually Works (Not Just a Wellness Buzzword)
Here’s the part most kraut tutorials skip. When you salt shredded cabbage, you’re not “flavoring” it — you’re creating a very specific environment. The salt draws water out of the cabbage cells through osmosis, which forms the brine. That brine does two things at once: it suppresses the bad bacteria and mold that need oxygen and low-salt conditions to thrive, and it creates a happy home for lactobacillus, the beneficial bacteria already living on the cabbage leaves.
Lactobacillus feeds on the natural sugars in the cabbage and produces lactic acid as a byproduct. That acid is what gives kraut its tang, and it’s also a natural preservative — it’s the same process behind kimchi, pickles, and sourdough starter. As the batch ferments, the pH keeps dropping, which makes the environment increasingly inhospitable to anything that could spoil the jar. It’s not magic. It’s just cabbage protecting itself, and you get the benefit.
The probiotic angle is real too. A properly fermented, unpasteurized kraut carries live bacterial cultures that research links to gut microbiome diversity — which is part of why fermented cabbage dishes are seeing such a steep rise in search interest alongside broader gut health and fiber-focused eating trends this year.
The Base Method (Master This, Then Play With Flavors)
What You Need
One medium head of green or purple cabbage, sea salt (roughly 1.5-2% of the cabbage’s weight — about 1 tablespoon per medium head), a wide glass jar, and something to weigh the cabbage down under the brine. A smaller jar filled with water works fine if you don’t have fermentation weights.
The Process
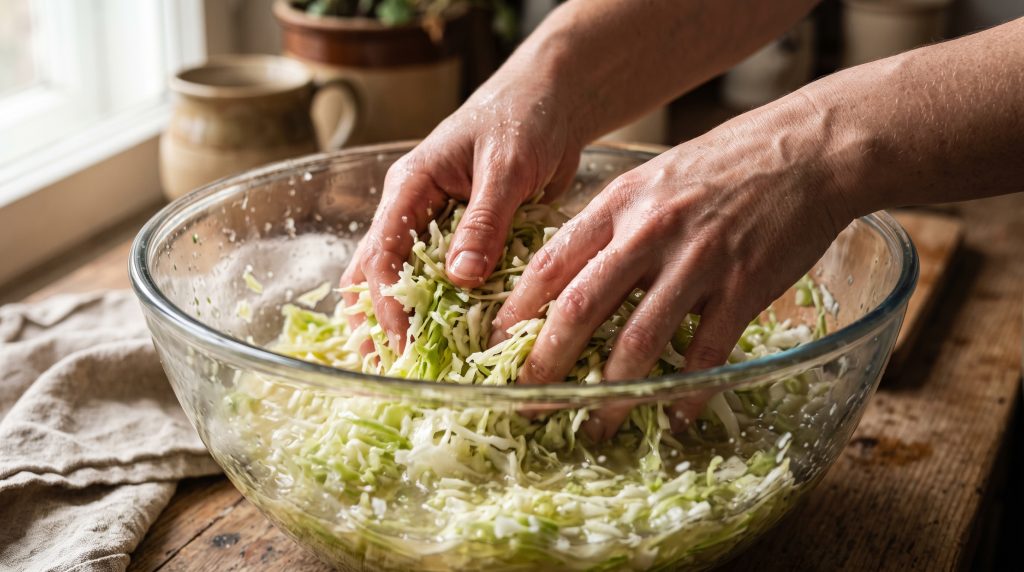
Shred the cabbage thin, core removed. Sprinkle the salt over it in a large bowl and massage it with clean hands for about 8-10 minutes, until the cabbage goes limp and pools of liquid start collecting at the bottom of the bowl. That liquid is your brine — don’t discard it.
Pack the cabbage tightly into your jar, pressing down as you go to remove air pockets, and pour the collected brine over the top. The cabbage needs to stay fully submerged — anything poking above the liquid line is exposed to oxygen and can mold. Weigh it down, cover loosely (fermentation releases gas and needs to breathe, so avoid airtight lids), and leave it at room temperature, out of direct sun, for 5-10 days.
Taste it starting around day 5. Once it’s tangy enough for you, move it to the fridge, where it’ll keep for months and continue developing flavor slowly.
5 Variations Once You’ve Got the Base Down
1. Classic Purple Kraut
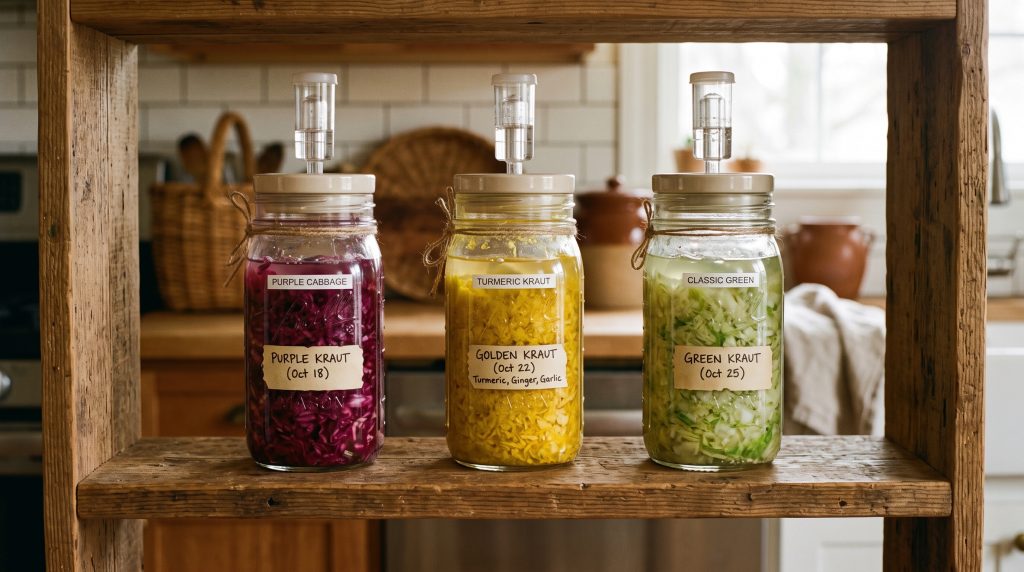
Purple cabbage instead of green — same method, and the color deepens into a rich magenta as it ferments. This is the one that photographs best for Pinterest, hands down.
2. Turmeric Ginger Kraut
Add 1 tablespoon grated fresh ginger and 1 teaspoon ground turmeric to the massaged cabbage before packing the jar. The turmeric turns the brine a soft gold, and the ginger adds warmth that pairs well with the tang.
3. Apple Caraway Kraut
A more old-world flavor — thin apple slices layered through green cabbage with a teaspoon of caraway seeds. The apple sugars feed the fermentation a little faster, so check it starting day 4.
4. Kimchi-Style Spiced Kraut
Swap in napa cabbage, add grated garlic, a thumb of grated ginger, and gochugaru (Korean chili flakes) to taste. It’s not traditional kimchi, but it borrows the same fermentation logic with a fraction of the ingredient list.
5. Beet and Dill Kraut
Shredded raw beet mixed in with green cabbage plus a handful of chopped fresh dill. The beet bleeds into the brine and turns the whole jar a deep ruby color — this is the one that gets asked about the most when people see it on a shelf.

Making It an Actual Ritual, Not Just a Kitchen Project
This is where the jar aesthetic earns its place. I keep my fermenting jars on an open shelf where I can actually see them — the same way I set up my non-toxic glass jar pantry. Watching the color shift and the brine settle over a week does something psychologically that a sealed cabinet doesn’t — it turns a five-minute prep task into something you check in on daily, almost like a plant.
If you’re already leaning into a slower morning routine, kraut fits naturally alongside habits like your gut-healing chia seed water ritual — both are about feeding your gut something alive, and both look genuinely beautiful sitting on a counter mid-process. And if your kitchen swaps are already trending eco and low-waste, this is a natural next step after simplifying your kitchen habits — fermentation produces zero packaging waste and turns one cheap vegetable into weeks of food.
Troubleshooting the Two Things People Worry About
White film on top isn’t mold — it’s kahm yeast, harmless but slightly off-tasting. Skim it off and the kraut underneath is fine. Actual mold is fuzzy and colored (green, black, pink) and means the batch should be tossed — it almost always happens because cabbage was exposed above the brine line.
The smell during fermentation is stronger than the finished product. Sulfur compounds release early on and mellow out by the time it’s ready to eat. If it still smells sharply unpleasant after 10 days rather than pleasantly sour, trust your nose and start over — but for most home batches, this never happens.
FAQ
Do I need a special fermentation crock or airlock lid?
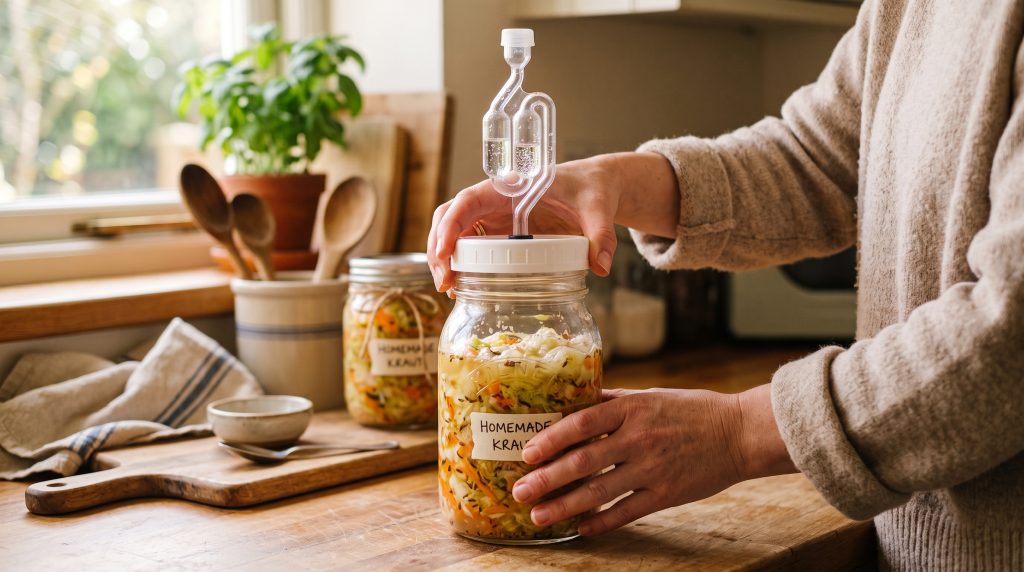
No. A regular wide-mouth glass jar with a loose-fitting lid works fine for small batches. Airlock lids just make it slightly more hands-off since they release gas automatically, but they’re not required to get good results.
How long does homemade kraut actually last?
Once refrigerated, a properly fermented batch keeps for several months, sometimes longer. The lactic acid that built up during fermentation continues to act as a preservative in the fridge.
Is fermented cabbage safe if I’m new to this?
Yes, as long as the cabbage stays fully submerged under the brine throughout fermentation. That’s the one non-negotiable step — everything else is fairly forgiving.
Can I use a food processor instead of shredding by hand?
Yes, a food processor with a shredding disc saves a lot of time on larger batches. Just make sure the shreds aren’t too fine, or the texture gets mushy once fermented.
Why did my brine level drop below the cabbage after a few days?
Cabbage can absorb some liquid back as it softens. If the level drops, mix a small amount of water with a pinch of salt (matching roughly the same ratio as your original brine) and top off the jar so everything stays submerged.
If you end up making a jar of this, I’d genuinely love to see how it turns out — tag along or save your favorite version over on Pinterest, where I’m posting the process shots and more slow-kitchen rituals like this one.
