
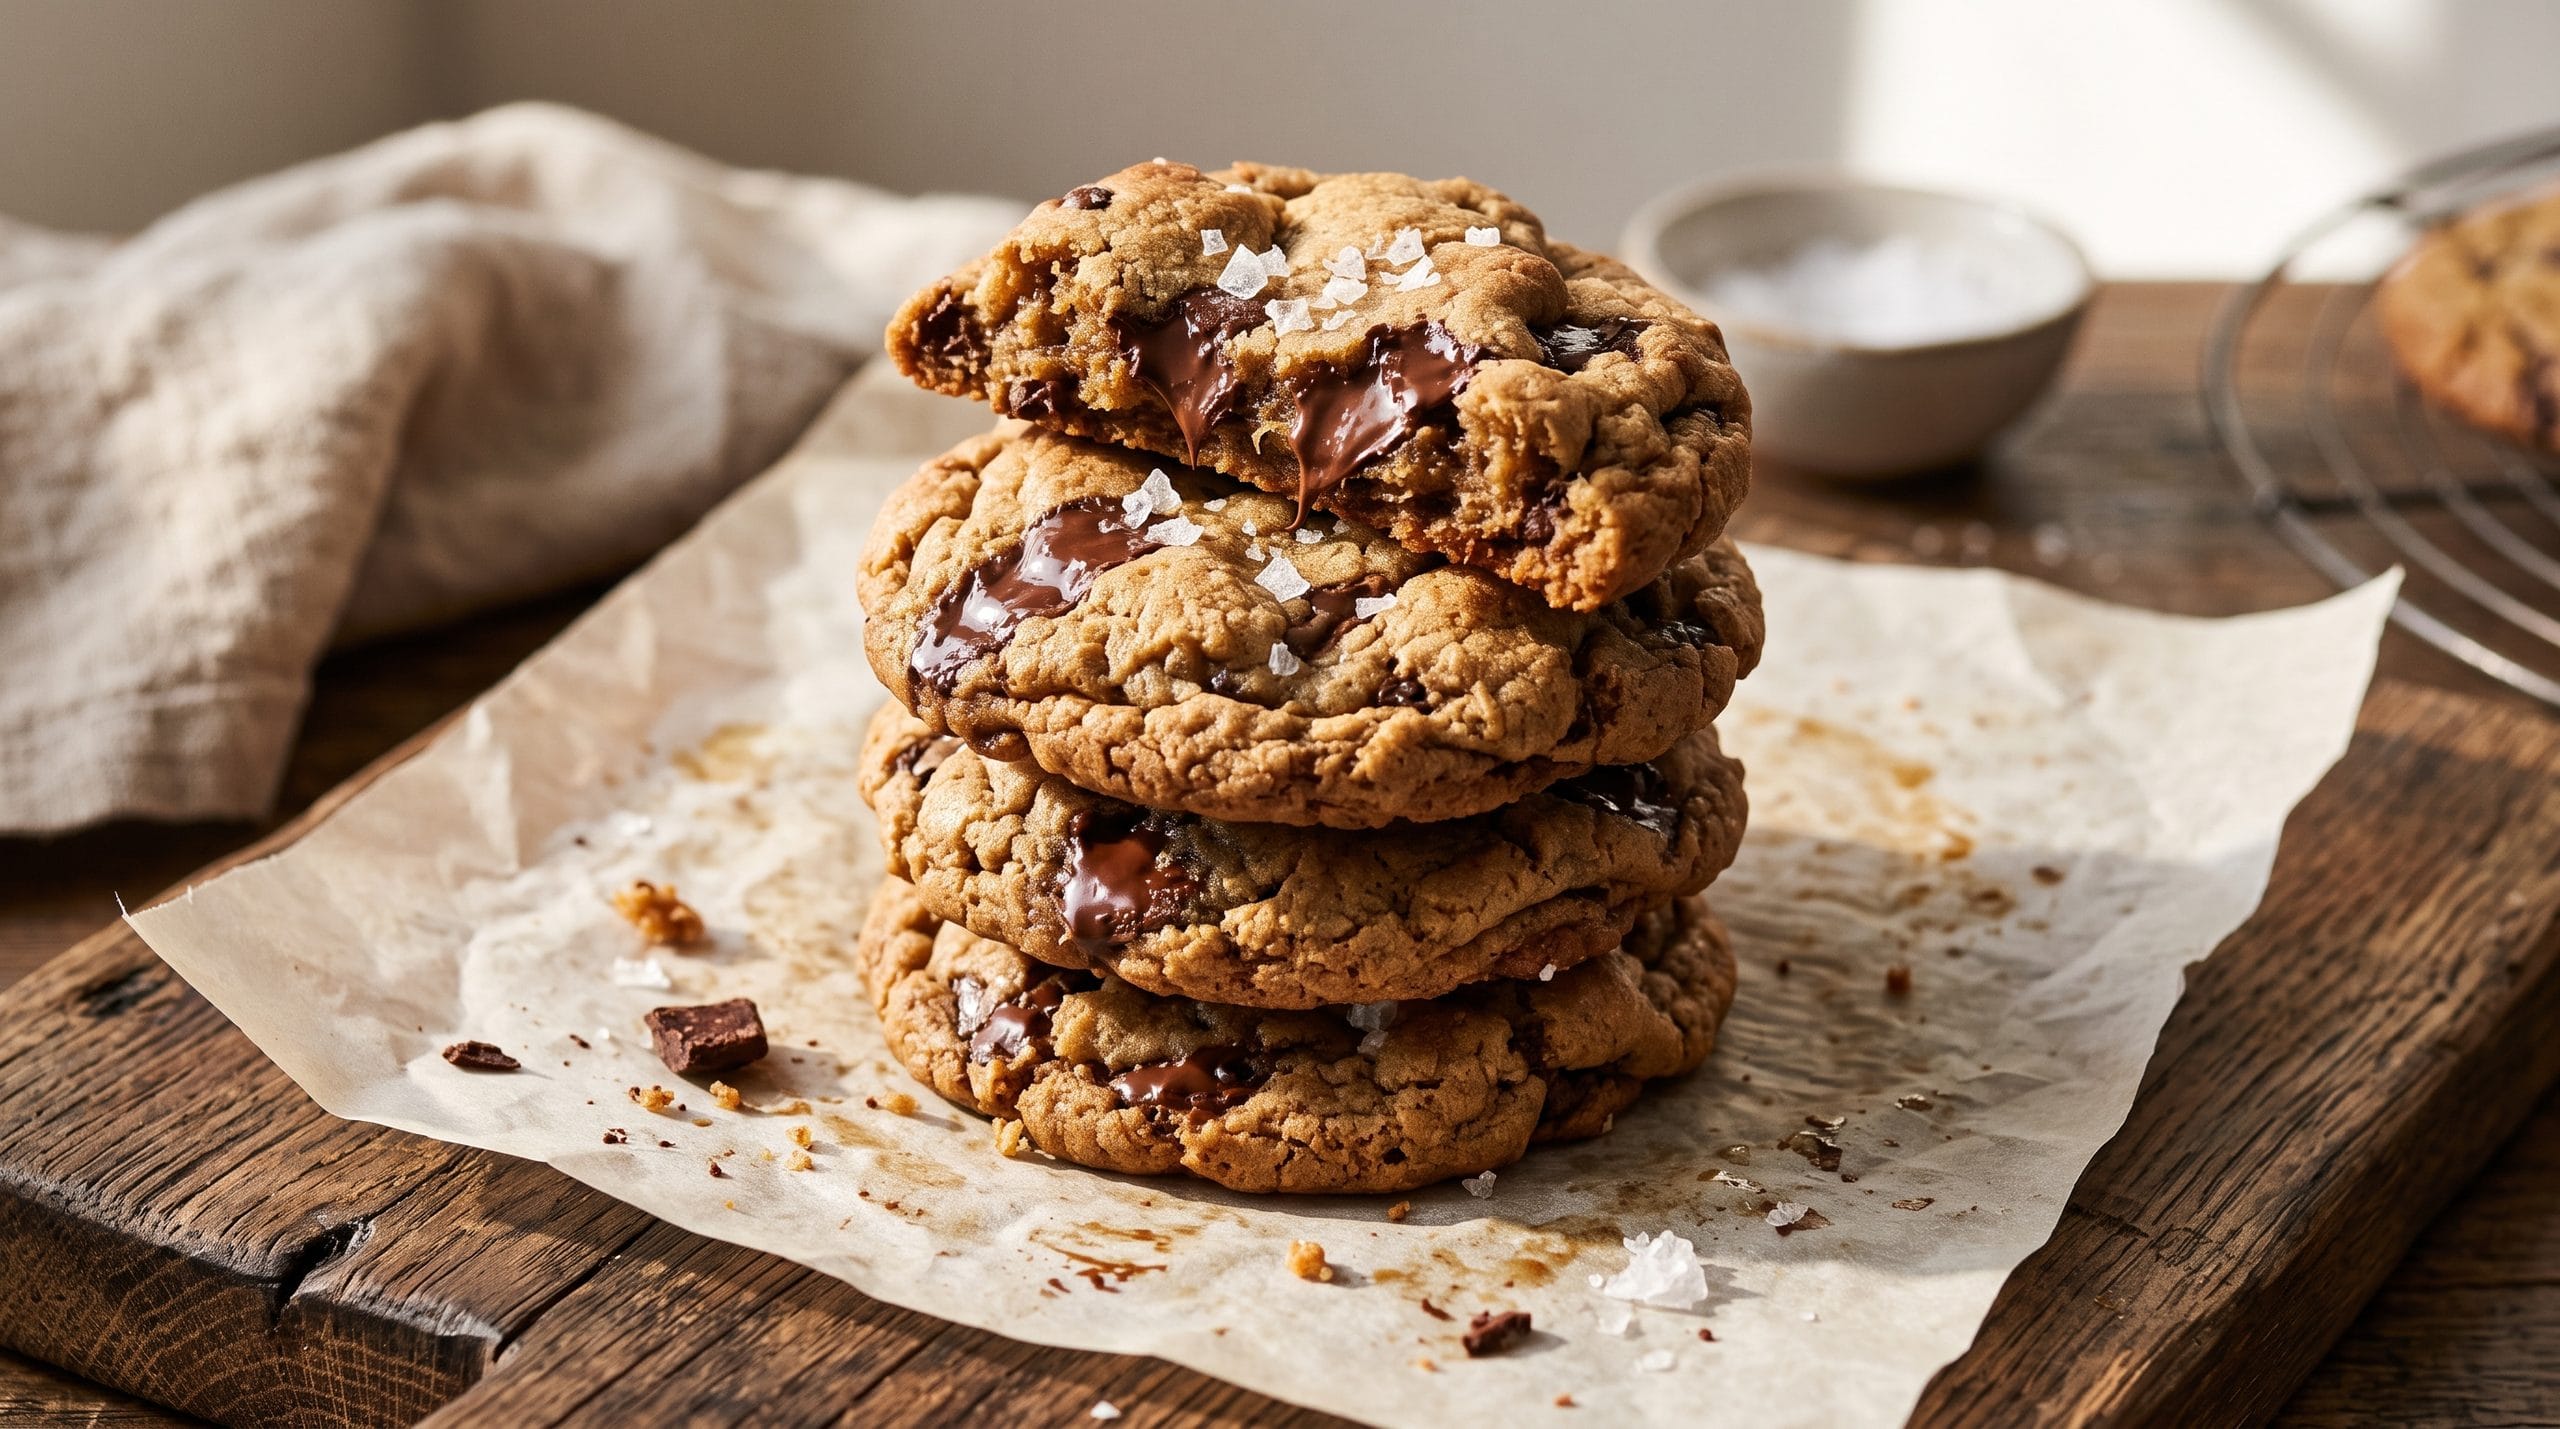
Baking the best brown butter chocolate chip cookies starts with understanding why traditional recipes fail. Chocolate chip cookies are, by a wide margin, one of the most searched recipes that exists — they have been for decades, and nothing suggests that’s going to change. Everyone has a version. Most of them are fine. Very few people actually understand why certain steps matter, which is exactly why so many home bakers end up with cookies that spread too thin, taste flat, or just don’t have that specific bakery-level depth. This version fixes that, using one ingredient swap — browned butter instead of softened butter — that changes almost everything about the final cookie, backed by the actual chemistry of why it works.
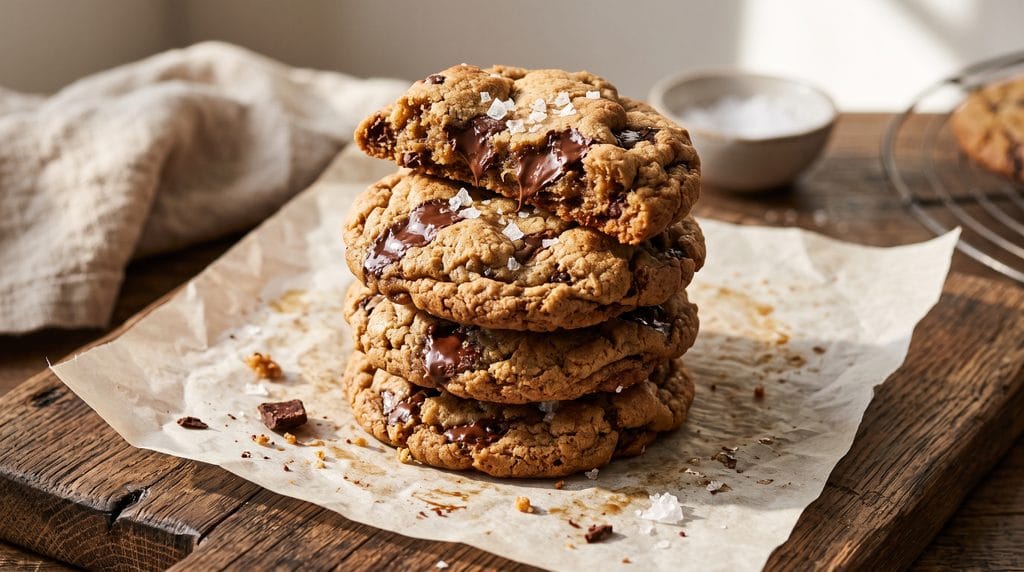
Jump to: Why browning butter changes everything · The master recipe · Why resting dough matters · Troubleshooting · 4 delicious variations · FAQ
Why Browning the Butter Changes Everything
Regular softened butter is roughly 80% fat, 16% water, and a small amount of milk solids — mostly proteins and lactose. When you simply cream softened butter with sugar, all of that stays intact. When you brown it instead, you’re cooking off the water content and toasting those milk solids directly in the remaining fat, triggering the Maillard reaction — the same browning reaction responsible for seared steak, toasted bread crust, and the roasted depth in our grandmacore buttermilk pancakes. According to food science research on Maillard reaction browning and carbohydrate hydration, this thermal reaction creates dozens of new aromatic compounds with nutty, toffee-like notes that simply don’t exist in regular butter.
This is the single biggest reason brown butter cookies taste noticeably more complex than standard ones — you’re not adding a new ingredient, you’re chemically transforming the one you already have into something with far more flavor compounds in it.
Why This Also Affects Texture, Not Just Flavor
Cooking off the water in butter has a second effect most recipes never mention: it changes how the dough hydrates and spreads. Water in standard butter contributes to gluten development and steam during baking, both of which affect spread and chew. With less water in the fat, brown butter cookies tend to bake slightly denser and chewier at the edges, with a more pronounced contrast between a crisp edge and a soft center — part of why this version reads as more “bakery style” than a standard drop cookie.
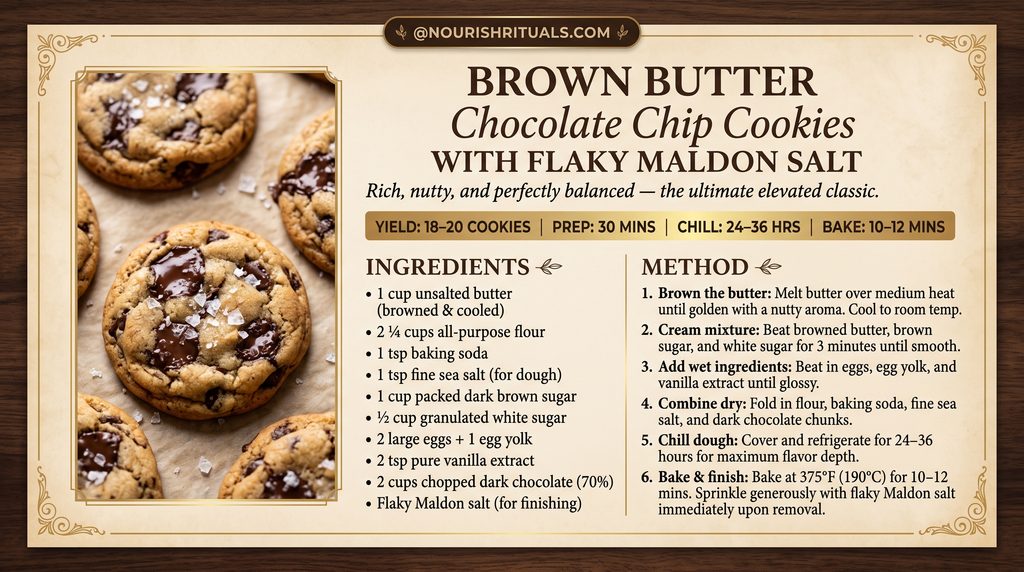
The Master Brown Butter Chocolate Chip Cookies Recipe
Ingredients:
- 1 cup (2 sticks) unsalted butter
- 2 1/4 cups all-purpose flour
- 1 teaspoon baking soda
- 1 teaspoon salt
- 1 cup packed brown sugar
- 1/2 cup granulated sugar
- 2 large eggs, plus 1 egg yolk
- 2 teaspoons vanilla extract
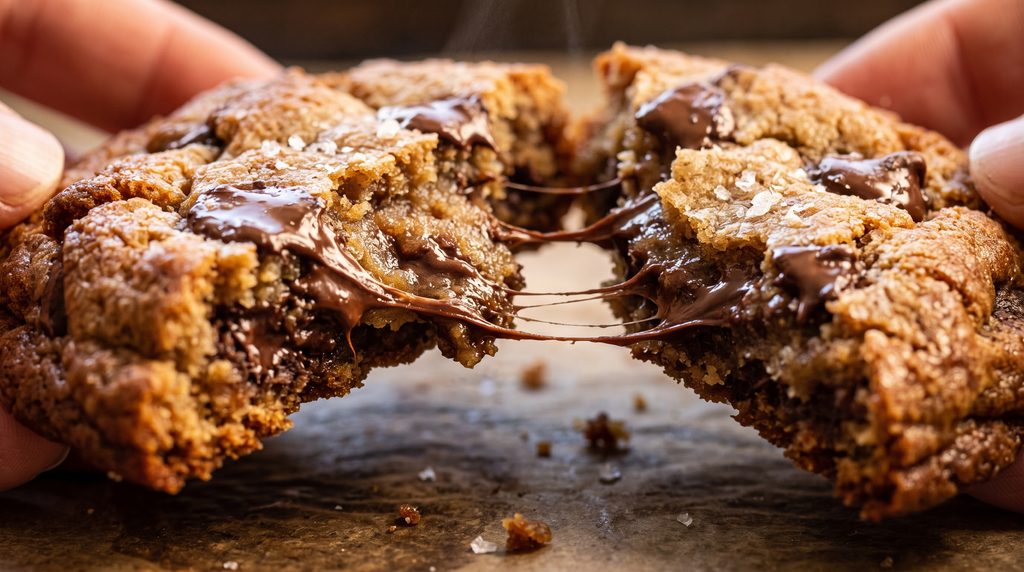
- 2 cups chocolate chips or roughly chopped chocolate bar (bar chocolate melts into better pools)
- Flaky sea salt, for finishing, bringing the ultimate swalty sweet and salty balance
Method:
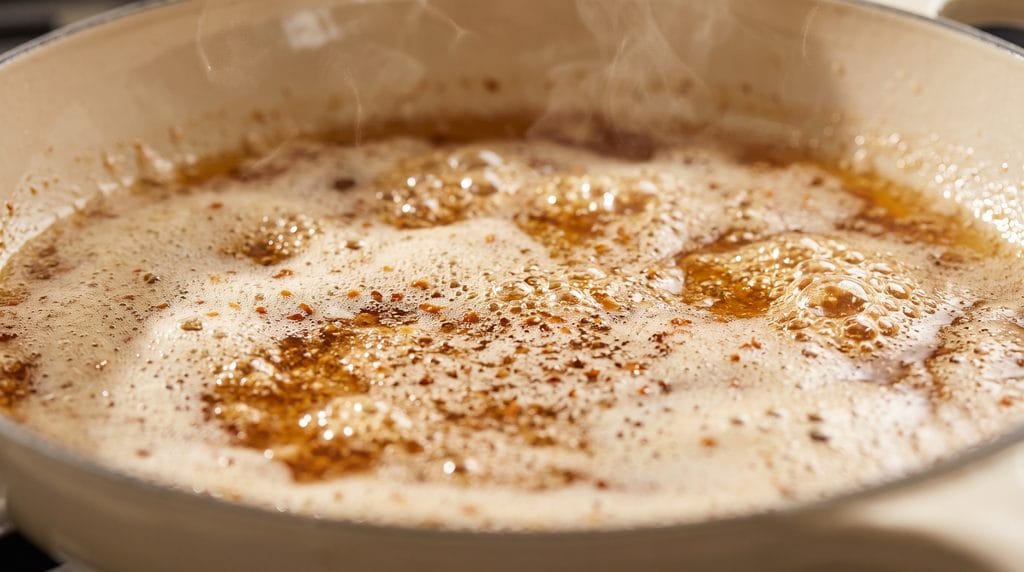
- Brown the butter. Melt it in a light-colored pan over medium heat (light-colored so you can actually see the color change — this is nearly impossible to judge in a dark pan). It will foam, then the foam will subside and brown flecks will start forming at the bottom. Swirl constantly once you see the first flecks appear, since the window between perfectly browned and burnt is narrow. Pour it, flecks and all, into a heatproof bowl immediately to stop the cooking.
- Cool it back down. This step is the one most people skip, and it’s the one that matters most. Let the browned butter cool until it’s solid again but still soft, about 45 minutes at room temperature or 20 minutes in the fridge, stirring occasionally. Creaming it while still hot will melt your sugar into syrup and produce a greasy, overly thin dough.
- Cream the butter and sugars until light and fluffy, about 2–3 minutes. This step incorporates air into the fat, which affects rise and texture during baking, similar to the aeration principle in whipped dips or frosting.
- Add eggs and vanilla, mixing until just combined. The extra egg yolk beyond the standard two whole eggs adds fat and emulsifying lecithin without extra water, contributing to a chewier texture.
- Fold in the dry ingredients (flour, baking soda, salt) just until no streaks remain — overmixing at this stage develops gluten, which makes cookies tougher and more bread-like instead of tender.
- Fold in the chocolate.
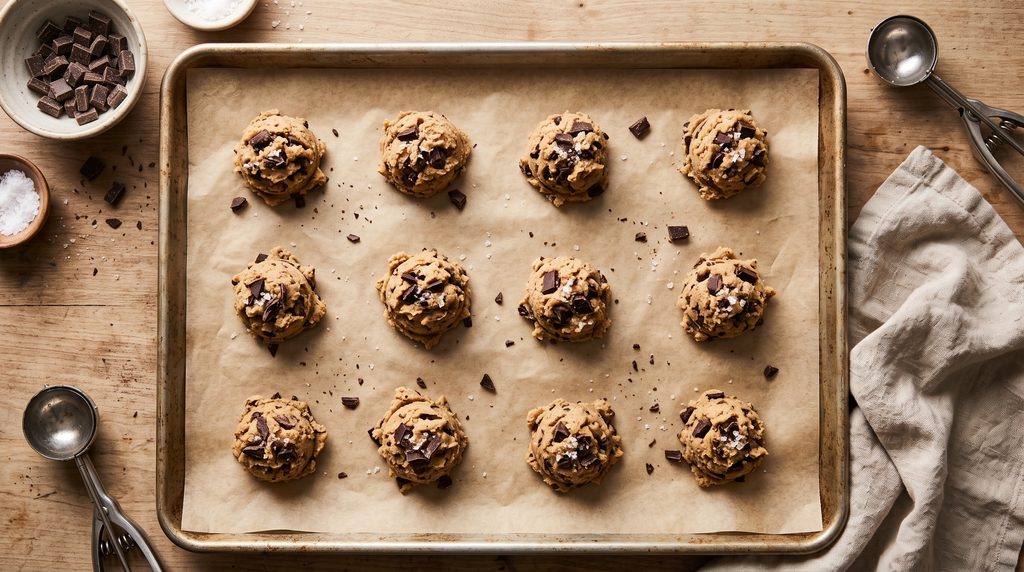
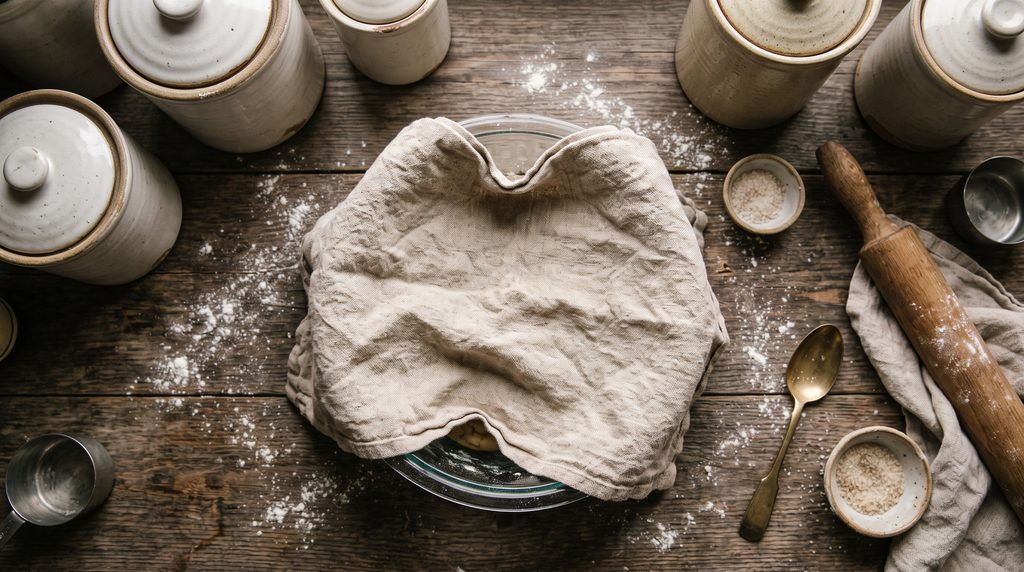
- Chill the dough, ideally for 24–36 hours, covered. This is the second most skipped step and arguably the second most important. During chilling, the flour fully hydrates, enzymes in the dough slowly break some starches into sugars (contributing to better browning in the oven), and the fat firms back up, which controls spread. A same-day cookie and a dough rested overnight from the exact same batch will taste and look noticeably different.
- Bake at 375°F (190°C) for 10–12 minutes, until the edges are set and golden but the center still looks slightly underdone. Cookies continue cooking on the hot pan after you pull them out — this is called carryover baking — so pulling them when they look slightly underdone is what prevents dry, overbaked cookies. Proper oven heat control is just as essential here as in our guide to baking and reviving bread in the oven.
- Finish with flaky salt the moment they come out of the oven, while the surface is still warm enough for the salt to adhere slightly.
Why the Resting Step Actually Matters This Much
It’s worth slowing down on this, because it’s the step most people assume is optional and it genuinely isn’t if you want a noticeably better cookie. Freshly mixed cookie dough has unevenly distributed moisture — flour particles haven’t fully absorbed the surrounding liquid yet. Over a day or more in the fridge, that moisture equalizes throughout the dough, which affects both texture and how evenly the cookie browns in the oven. At the same time, naturally occurring enzymes in the flour slowly convert some starches into simpler sugars. Those additional sugars caramelize more readily during baking, contributing to deeper browning and more complex flavor — essentially giving the Maillard reaction more raw material to work with, on top of what the browned butter already contributes. A rested dough cookie and a same-day cookie from an identical recipe are recognizably different in a blind taste test, which is a big part of why bakery cookies often taste more developed than quick homemade versions.
Troubleshooting
My cookies spread too thin and flat. Most likely the butter was too warm when creamed, or the dough wasn’t chilled long enough before baking. Warm fat spreads faster in the oven before the structure has a chance to set.
My cookies are cakey instead of chewy. This usually points to too much flour (measure by weight if possible, since scooping flour directly from the bag packs it down and adds extra) or overmixing after the dry ingredients went in, which develops excess gluten. Storing your baking ingredients in airtight glass jar pantry containers helps keep flour dry and evenly aerated.
The brown butter smells burnt, not nutty. The line between browned and burnt is only about 30 seconds of swirling time. If it smells acrid rather than toasty and nutty, it’s burnt — start over rather than trying to salvage it, since burnt compounds taste bitter and won’t mellow out in the dough.
Four Variations Worth Trying
Brown butter and miso — add a tablespoon of white miso paste along with the eggs for a deeper umami note that rounds out the sweetness without tasting savory in an obvious way.
Espresso brown butter cookies — add a teaspoon of instant espresso powder to the dry ingredients; it doesn’t make the cookies taste like coffee, it intensifies the chocolate and brown butter notes instead.
Brown butter and toasted pecan — fold in a half cup of toasted, chopped pecans along with the chocolate for textural contrast and extra nutty depth that echoes the browned butter.
Stuffed brown butter cookies — press a small square of dark chocolate or a spoonful of cookie butter into the center of each dough ball before baking for a molten center.
FAQ
Can I skip browning the butter if I’m short on time?
Yes, the recipe will still work with softened butter, but you’ll lose the nutty depth that defines this version — if you’re skipping it, reduce the resting time’s importance slightly less, since softened butter dough doesn’t benefit from resting in quite the same dramatic way.
Why does the recipe call for both brown and white sugar?
Brown sugar is hygroscopic, meaning it holds onto moisture, which contributes chewiness, while white sugar promotes crisper edges and spread. The combination balances both textures in the same cookie.
Can I freeze the dough instead of just refrigerating it?
Yes, and it actually extends the flavor-developing benefits of resting even further. Scoop the dough into balls first, then freeze on a tray before transferring to a bag — you can bake straight from frozen, just add one to two extra minutes to the bake time.
Why do my cookies look pale even though they’re fully baked?
This is usually an oven temperature issue — an oven running cooler than its display suggests won’t trigger enough Maillard browning in the bake time given. An oven thermometer is the easiest way to check and correct for this.
Does the type of chocolate actually matter?
Yes, more than most people assume. Chopped bar chocolate melts unevenly, creating both molten pools and small set chunks throughout the cookie, while chocolate chips are formulated to hold their shape and resist melting — a mix of both gives the best textural range.
If recipes with this level of detail are your thing, I’m sharing more aesthetic, slow-living baking breakdowns daily on Pinterest — come save this one for later.
