
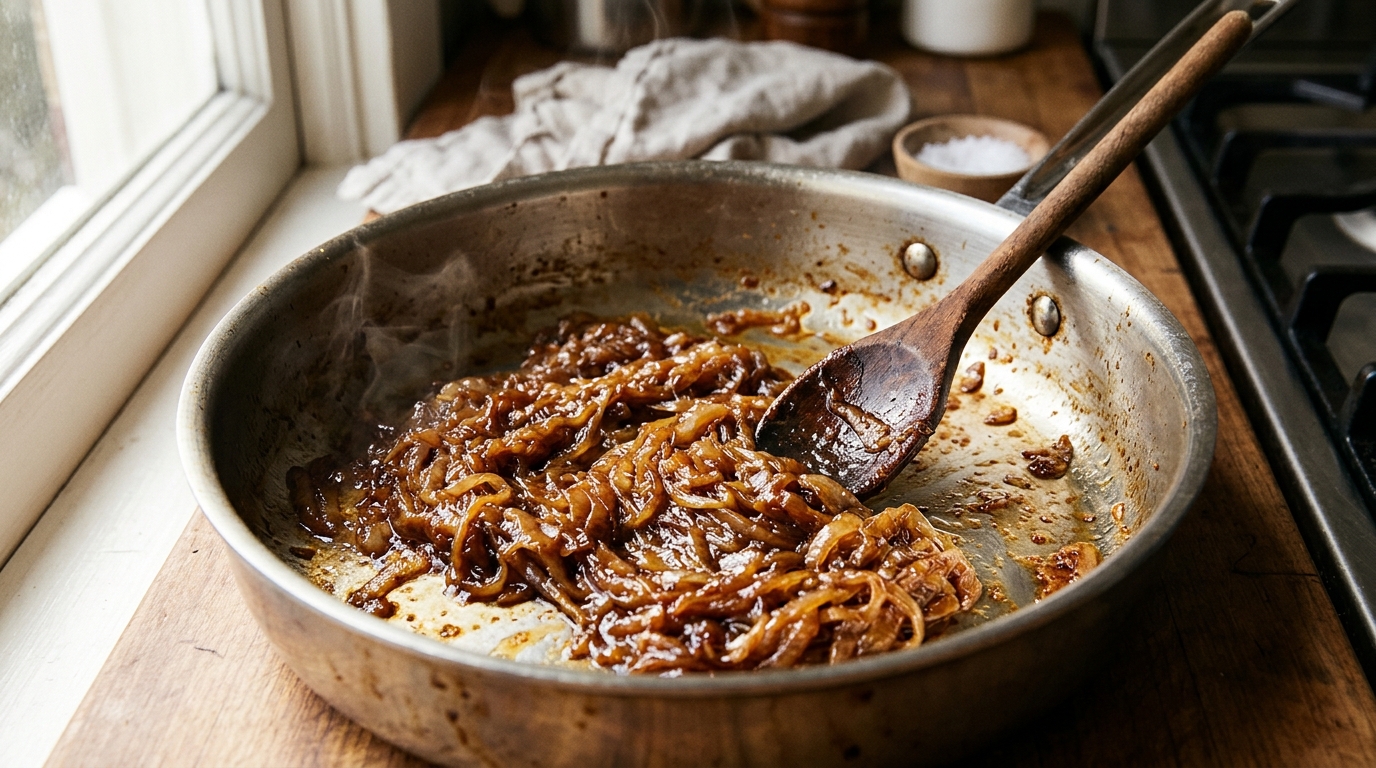
Learning how to caramelize onions properly begins with unlearning a very common internet myth. Somewhere out there, a recipe is telling you to caramelize onions in 10 minutes.
I believed it for years. I’d crank the heat, stand over the pan, and end up with onions that were half burnt, half raw, and somehow also bitter. I kept thinking I was bad at it.
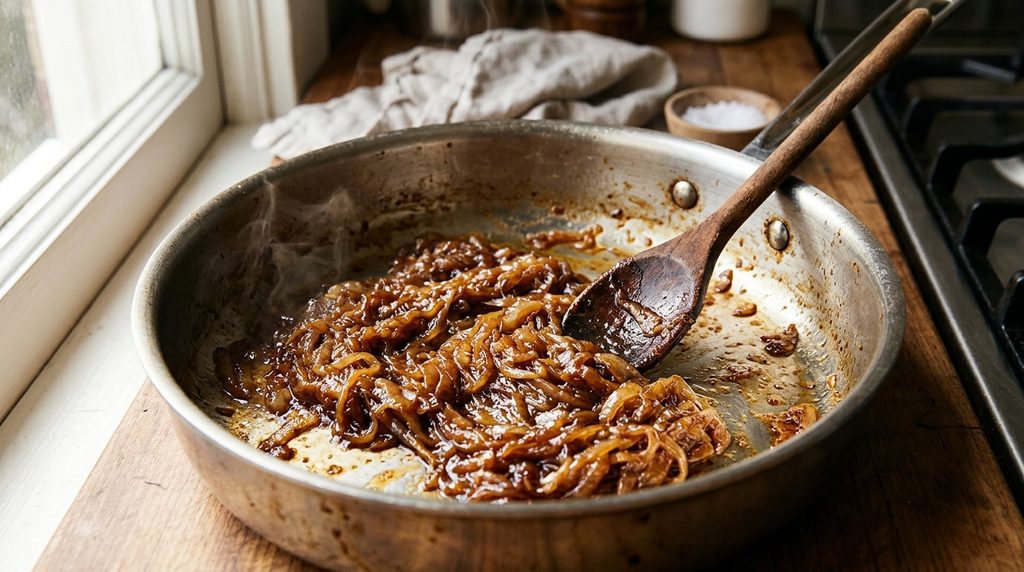
I wasn’t bad at it. The recipe was lying. Real caramelized onions take about 45 minutes, and once you understand why, the whole thing gets easy. Much like the quiet patience required when building our ruby red Ukrainian borscht recipe, it’s mostly waiting and stirring now and then, and the payoff is a pan of sweet, jammy, deeply savory onions that make almost anything taste better.
Jump to: Why it takes so long · Ingredients & tools · How to caramelize onions step by step · Baking soda shortcut · Kitchen lessons · 5 ways to change it up · What to do with them · Storage · Troubleshooting · FAQ
Why Caramelizing Onions Takes So Long
An onion is roughly 90 percent water. Before it can brown, most of that water has to leave the pan.
Here’s what happens, in order:
Stage 1: Water leaves. When onions hit the hot pan, they soften and release liquid. For the first 10 minutes or so they’re basically steaming in their own juices. The pan temperature can’t climb much above the boiling point of water while there’s still lots of liquid around. Nothing browns yet, and that’s normal.
Stage 2: Sugars concentrate. As the water cooks off, the natural sugars in the onion, mostly glucose, fructose, and sucrose, become concentrated. The onions turn translucent and soft.
Stage 3: Browning begins. Now the temperature can rise, and two reactions kick in. One is caramelization, where sugars break down and form sweet, nutty, slightly bitter compounds. The other is the Maillard reaction, where sugars react with amino acids to create deep, savory, roasted flavors. In real caramelized onions, both are happening together, and that’s why they taste more complex than just “sweet.” Peer-reviewed food science research on onion thermal processing and sulfur degradation confirms that prolonged heating fundamentally breaks down lacrimatory precursors into non-volatile, sweet cyclic polysulfides, which completely transforms the bulb’s chemical profile.
Stage 4: Harshness fades. Raw onions are sharp because of sulfur compounds (the exact mechanism we broke down in our guide on why onions make you cry and the science fixes). Cooking changes them into milder, sweeter ones. That’s why caramelized onions taste nothing like raw.
So the “10-minute” recipe skips stages. High heat browns the outside before the inside has softened and sweetened, and you get bitter, uneven onions. Slow and steady is the whole trick.
What You Need
The ingredient list is tiny:
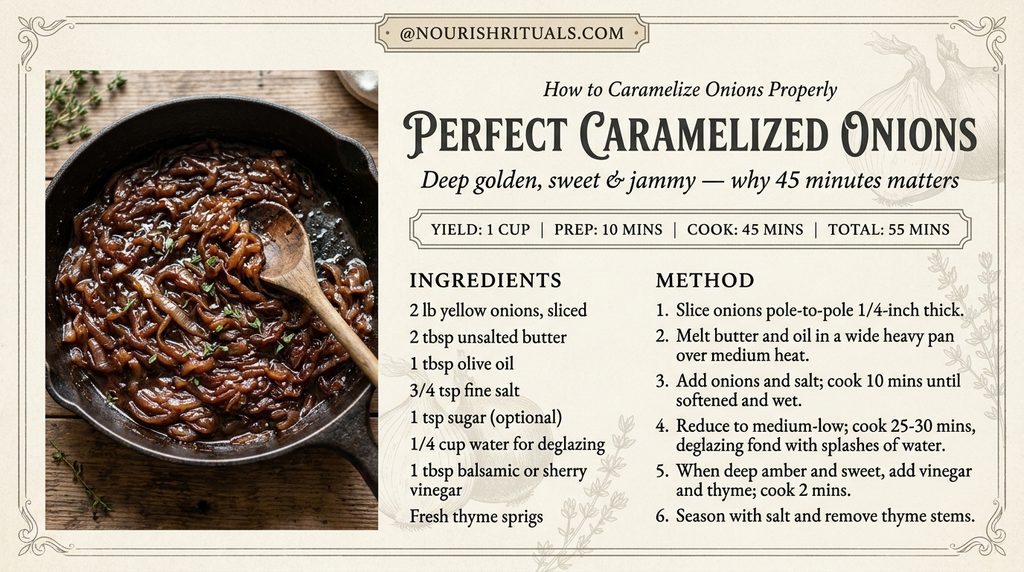
- 2 lb (900 g) yellow onions, about 4 large
- 2 tbsp butter + 1 tbsp olive oil
- ¾ tsp fine salt
- 1 tsp sugar (optional)
- A little water, added a splash at a time
- 1 tbsp balsamic or sherry vinegar
- A few thyme sprigs (optional)
Two pounds of onions looks like a mountain in the pan. They shrink to roughly a cup. That’s normal, and it’s why I always make a full batch.
Which onion? Plain yellow onions are my default. They have a good balance of sugar and sulfur and brown beautifully. Sweet onions work, but they have more water, so they take longer and taste milder. Red onions turn jammy and a bit sharper.
Butter and oil? Butter gives flavor and helps browning. Oil raises the smoke point so the butter doesn’t burn. Using both is the best of both worlds.
How to Caramelize Onions, Step by Step
Step 1: Slice Them Right
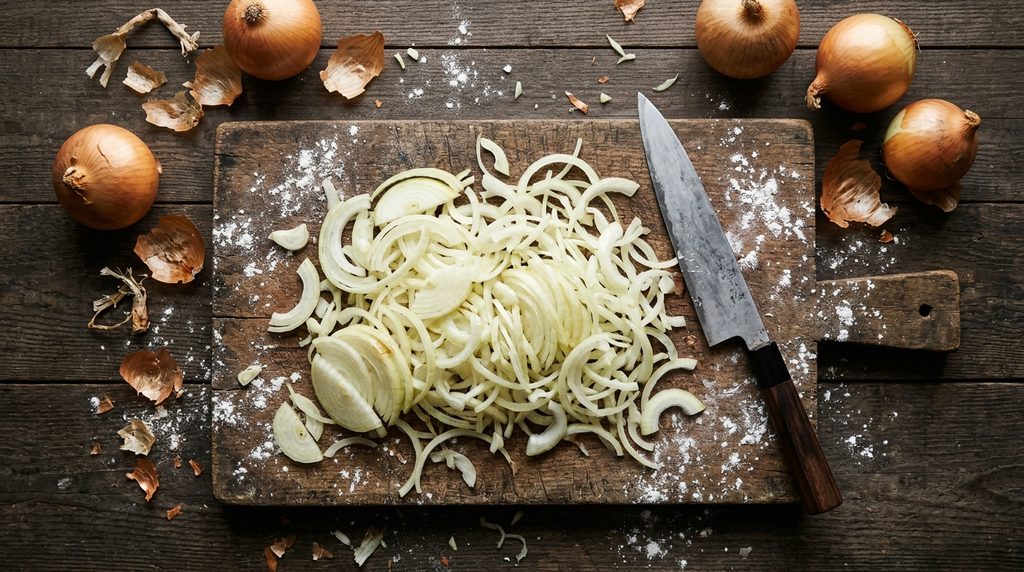
Cut the onions in half through the root, peel them, and slice from pole to pole (stem to root), not across. Pole-to-pole slices keep their shape better and cook more evenly, while slices cut across the rings break down into mush faster. Aim for about ¼ inch thick.
Step 2: Pick the Right Pan
Use a wide, heavy pan: stainless steel or cast iron work well. A wide pan gives the water more surface area to evaporate, so the onions brown instead of steam. A deep, narrow pot slows everything down.
Nonstick works, but you won’t get the browned bits on the bottom, and those bits are pure flavor.
Step 3: Start on Medium
Melt the butter and oil on medium heat. When the butter foams, add the onions and salt, and stir to coat. The salt pulls water out of the onions, which helps them soften faster.
Cook for about 10 minutes, stirring every couple of minutes. They’ll go from white to translucent and look wet. This is the steaming stage. Don’t rush it.
Step 4: Lower the Heat and Be Patient
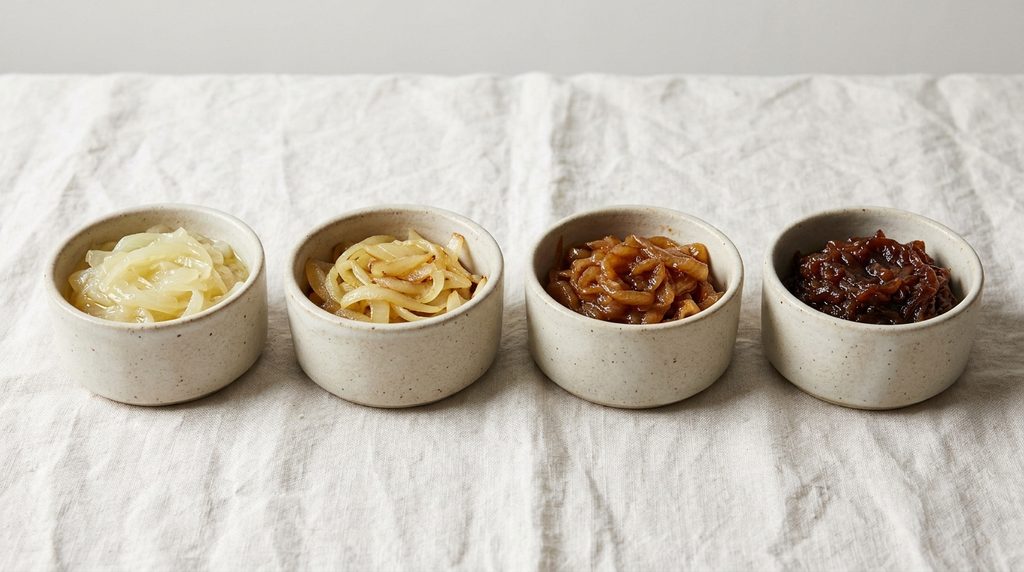
Turn the heat to medium-low. For the next 25 to 30 minutes, stir every 3 to 4 minutes, scraping the bottom of the pan. The color will move from pale yellow, to golden, to amber, to a deep brown.
You’ll start to see brown film stuck to the pan. That’s called fond. When it gets dark, add a splash of water (a couple of tablespoons) and scrape it up. That dissolves the fond back into the onions and keeps it from burning. You can repeat this a few times.
Step 5: Finish With Acid
When the onions are deep amber, soft, and jammy, stir in the vinegar and thyme. Cook for 2 minutes and scrape up any last brown bits. The acid brightens the sweetness so it doesn’t taste flat. Taste and add salt if needed.
The Baking Soda Shortcut
If you’re short on time, here’s a trick I use sometimes. Add ¼ teaspoon of baking soda when you add the salt. It’s the exact same pH-shifting kitchen chemistry we leverage in our creamiest hummus recipe baking soda trick to break down pectin quickly.
Baking soda makes the onions slightly alkaline. That speeds up the Maillard reaction and also breaks down the onions’ structure faster. The result: browning in about 20 to 25 minutes instead of 45.
The trade-off: the onions get softer and more jammy, almost like a paste, and the flavor is slightly less layered. It’s perfect for dips, soups, and spreads. For toppings where you want some texture, the slow version wins. Don’t use more than ¼ teaspoon per two pounds, or it can taste soapy.
How I Learned This the Hard Way
My old method was simple: high heat, impatience, and a lot of stirring while I stared at the clock. I’d pull the pan after 12 minutes, call the onions “caramelized,” and wonder why my French onion soup tasted a little sharp.
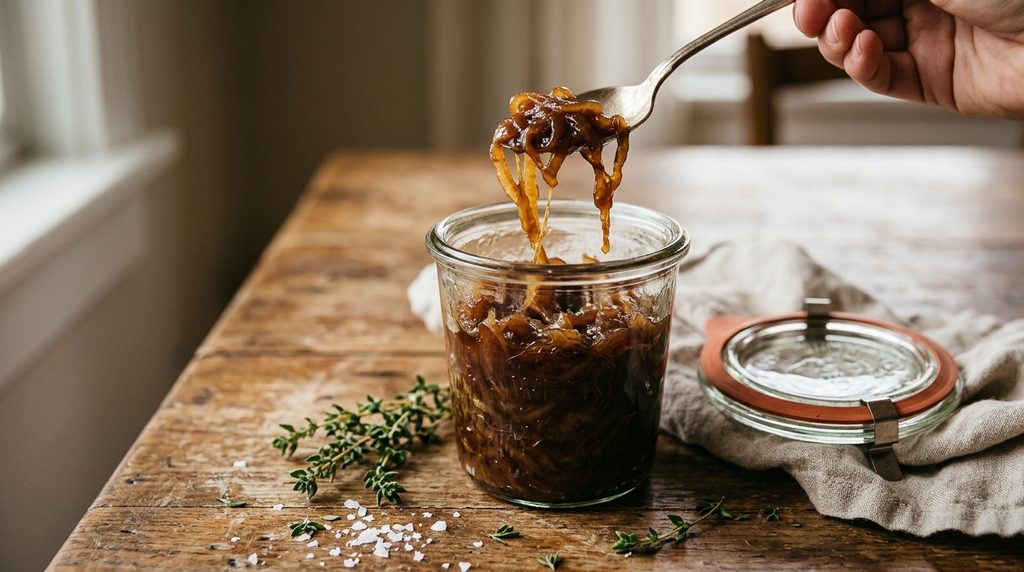
The change came when I stopped treating it like a quick sauté and started treating it like a slow simmer. As I shared in the culinary philosophy on my About page, if a technique isn’t practical for an everyday cook on a Tuesday evening, it doesn’t earn a place in our home. I set a timer, turned on a podcast, and left the pan alone between stirs. The first time I did it, I was honestly surprised by how sweet the onions were with nothing added except time. Since then, I make a big batch on Sunday and keep it in a jar in the fridge for the week.
5 Ways to Change It Up
- Balsamic-thyme. Use 1 tablespoon balsamic at the end for a darker, tangier jam. This is great on burgers and toast.
- Sherry or white wine. Deglaze with ¼ cup of dry sherry or white wine at the end and let it cook off. Perfect for French onion soup.
- Onion jam. Add 2 tablespoons of sugar and 2 tablespoons of vinegar and simmer until thick. Serve with cheese boards.
- Oven method. Bake sliced onions with butter in a covered dish at 400°F (200°C) for 30 minutes, then uncovered for 30 more, stirring now and then. Less hands-on.
- Slow cooker. Cook on low for 8 to 10 hours with butter and salt. Drain the extra liquid and simmer it down on the stove.
What to Do With Caramelized Onions
This is the part where they pay you back:
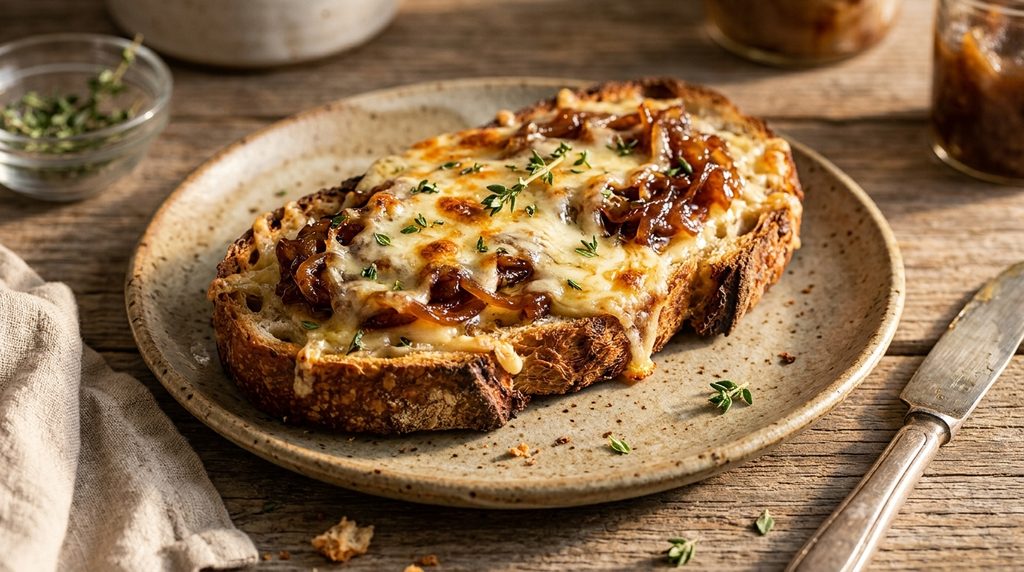
- Pile them on toast with melted cheese and fresh thyme.
- Stir into pasta, such as my creamy garlic butter mushroom pasta, for extra savory sweetness.
- Layer them on burgers, sandwiches, or rustic grilled cheese.
- Mix into yogurt or cream cheese for an effortless, rich homemade dip.
- Spoon over homemade pizza dough, flatbread, or baked potatoes.
- Add to soup, such as French onion, or fold into fluffy scrambled eggs.
Storage
Cool the onions completely, then pack them in a clean jar or glass container.
- Fridge: up to 5 days.
- Freezer: up to 3 months. I freeze them flat in small bags, or in an ice cube tray, and pop out a cube whenever a recipe needs an instant boost of flavor.
Troubleshooting
The onions are burning or sticking.
Your heat is too high. Turn it down and add a splash of water to loosen the browned bits. Stir more often.
They taste bitter.
They may have scorched, or the heat was too high. A tiny pinch of sugar or a splash of vinegar can balance mild bitterness, but badly burnt onions are best started over.
They’re not browning, just mushy and pale.
The pan may be too small or crowded, so the water can’t evaporate. Use a wider pan, or cook in two batches, and keep the heat at medium to start.
They’re watery.
They haven’t cooked long enough. Keep going until the liquid has cooked off and the onions look glossy.
They’re sweet but flat.
They need acid and salt. Finish with a splash of vinegar and taste again.
There’s not enough yield.
Normal. Two pounds becomes about one cup. Start with more onions if you want more.
FAQ
Do I need to add sugar?
No. Onions have plenty of their own sugar. A teaspoon helps with color in a hurry, but it isn’t necessary.
Why do my eyes water when I slice onions?
Cutting breaks open the onion’s cells and starts a chemical reaction that produces a gas that irritates your eyes. A sharp knife and chilling the onions first help reduce it.
Can I caramelize onions in advance?
Yes, and I recommend it. They keep for 5 days in the fridge, and the flavor actually settles nicely.
Why are my caramelized onions not sweet?
Usually they weren’t cooked long enough, or the heat was too high so they browned before the sugars developed. Go slower and longer.
Can I use a nonstick pan?
Yes, but you’ll lose the browned bits that add flavor. Stainless steel or cast iron gives better results.
Caramelized onions are one of the few things in the kitchen where doing less gives you more. Low heat, a little attention, and time. That’s it.
Make a jar this weekend and see how many things you end up putting it on. If you try it, let me know how it went. I read every message.
Want more cozy recipes and kitchen basics? Follow me on Pinterest for fresh ideas every day.

Leave a Reply