
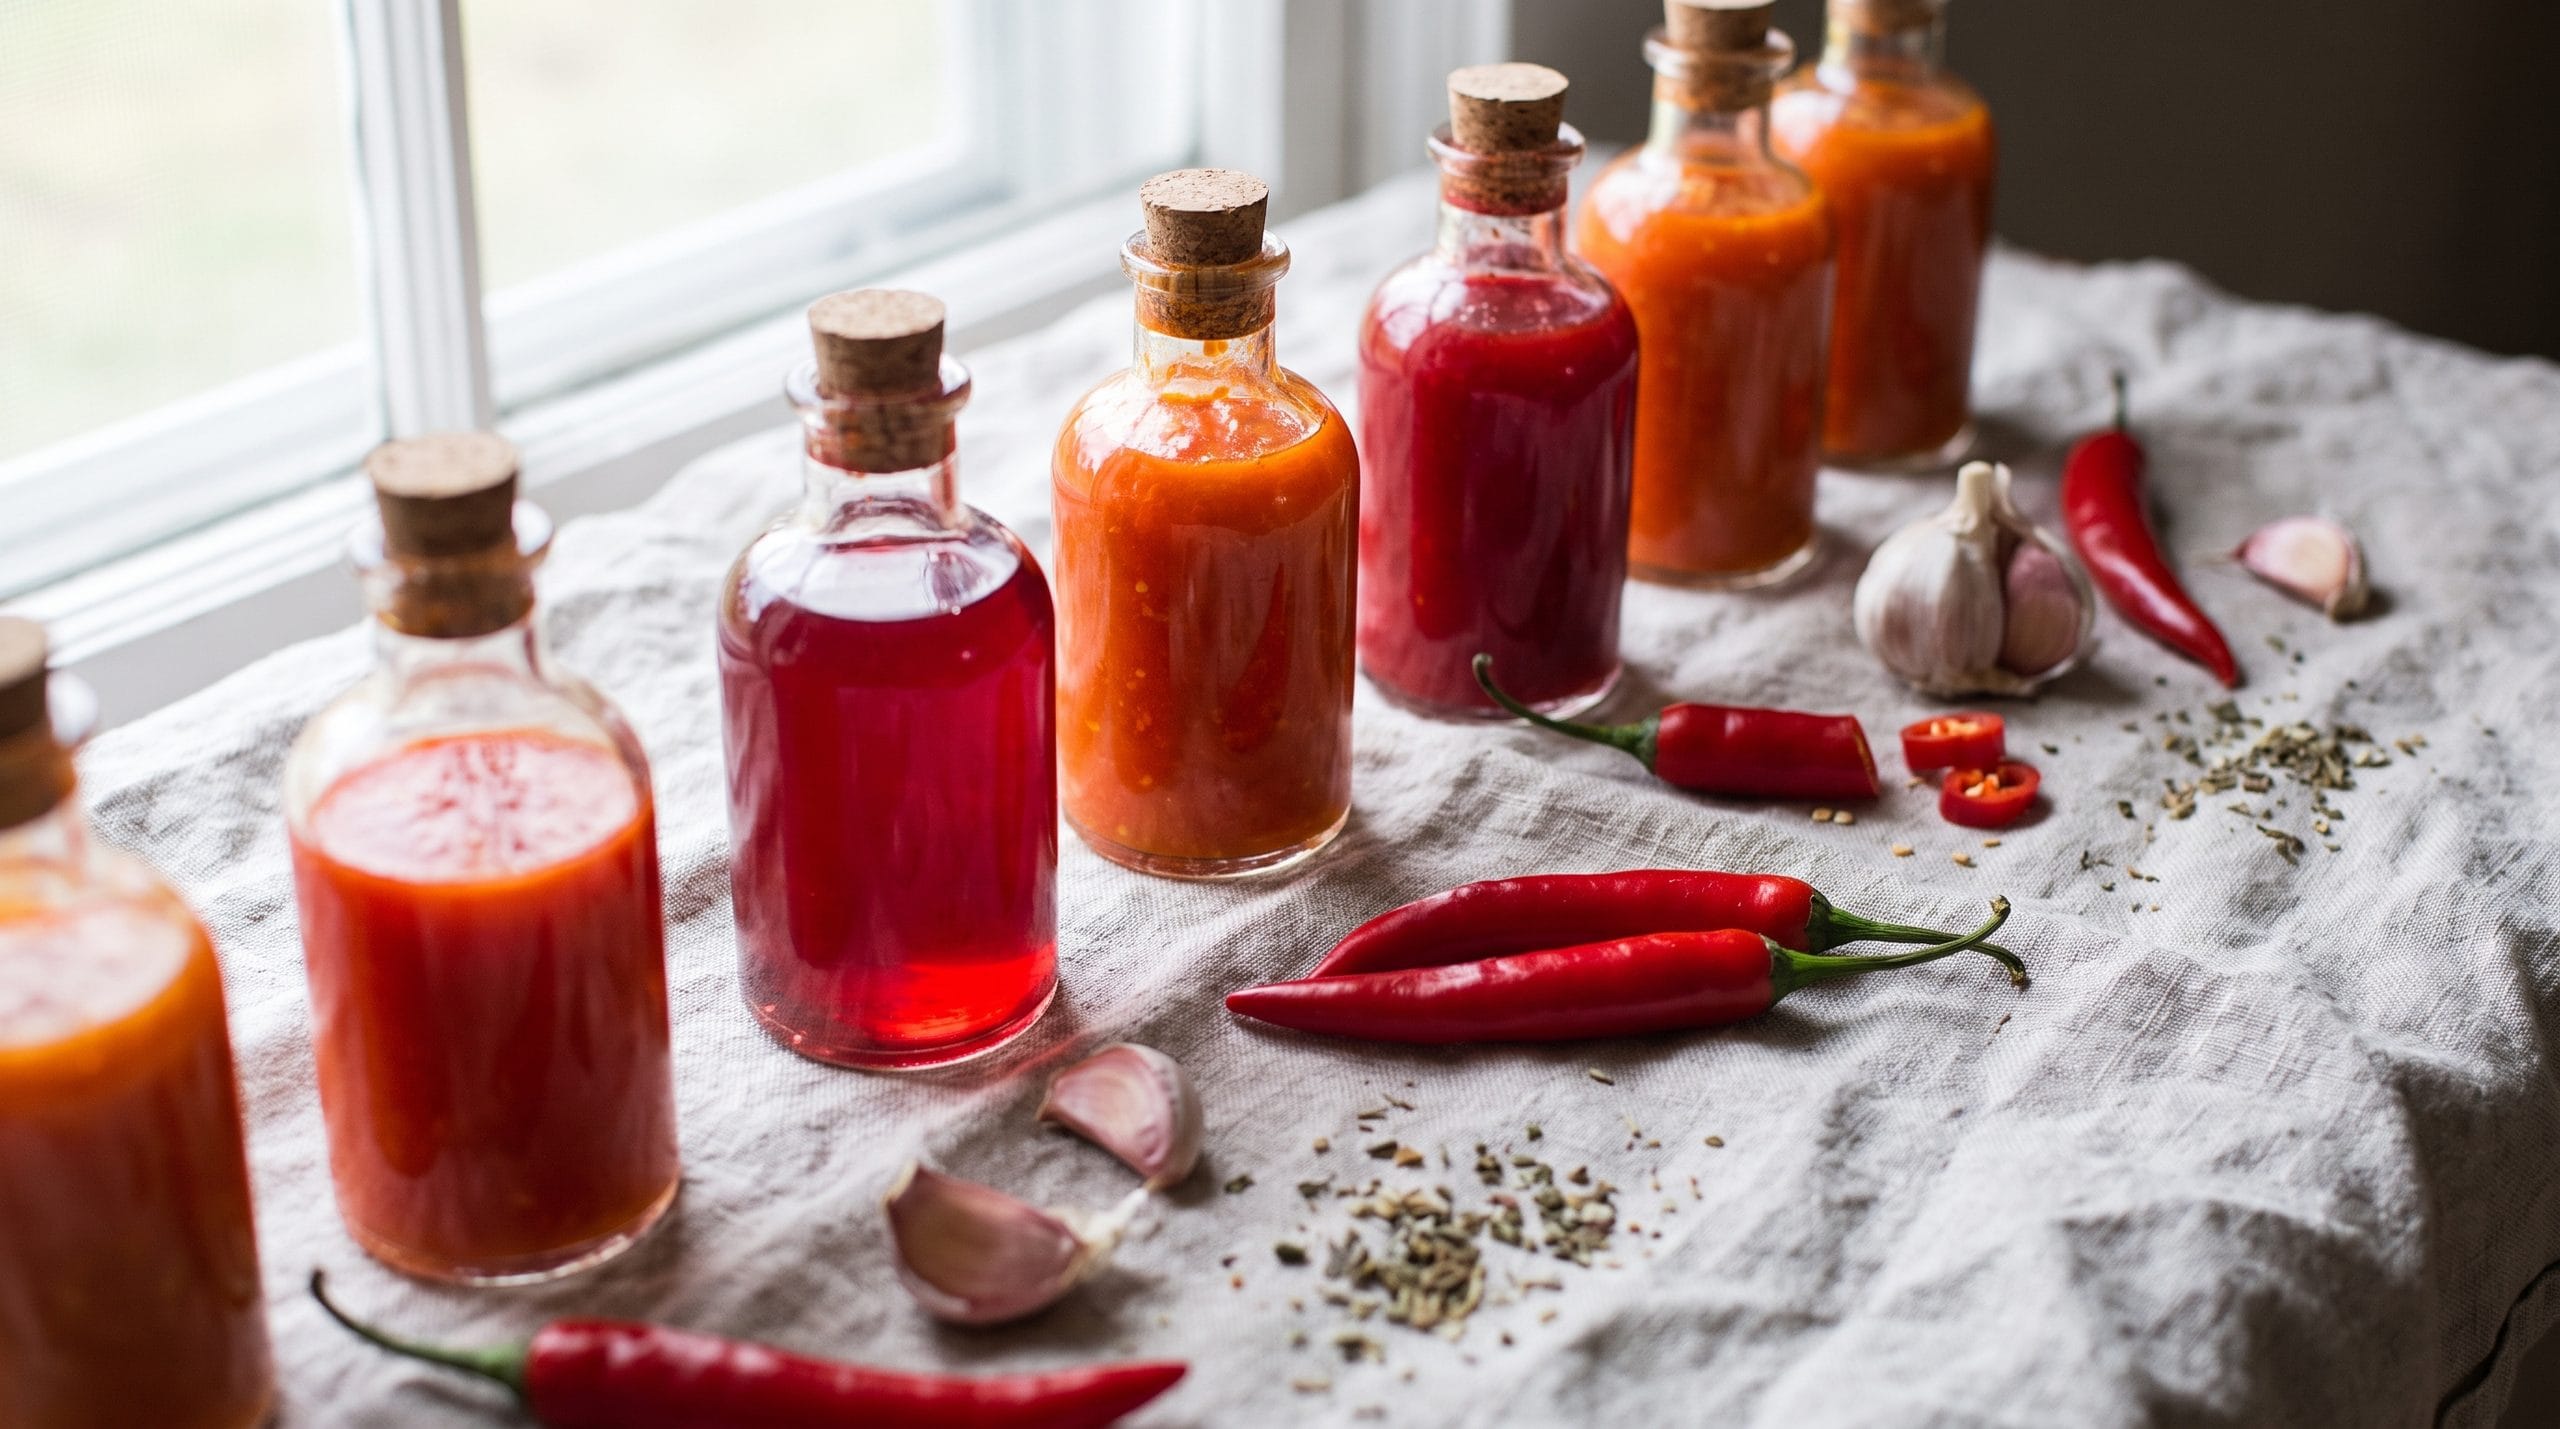
My first attempt at fermented hot sauce sat on the counter for two weeks looking, frankly, a little alarming — cloudy brine, bubbling gently, chilies slowly sinking and rising like something out of a chemistry experiment. I checked on it daily, half convinced I’d done something wrong. I hadn’t. That’s just what real fermentation looks like, and the sauce that came out the other end was sharper, deeper, and more complex than anything from a store-bought bottle. This is the guide I wish I’d had before starting, laid out the way I actually needed it explained.
Jump to: What fermentation actually does · What you’ll need · The base fermented hot sauce method · Turning it into sauce · Reusing your brine · Troubleshooting · FAQ
What Fermentation Actually Does Here
Most store-bought hot sauces get their tang from added vinegar. A fermented hot sauce develops its tang differently — through lacto-fermentation, where naturally occurring bacteria already present on the chilies and in the air, primarily strains of Lactobacillus, consume the natural sugars in the peppers and convert them into lactic acid. According to microbiological research on lactic acid bacteria fermentation in peppers, this process produces bioactive compounds and complex organic acids that elevate both flavor and microbial safety.
That lactic acid is what eventually preserves the mixture and gives it that distinctive tang, similar to the sourness in our aesthetic fermented sauerkraut jar ritual, but the process also does something vinegar alone never can: it develops genuinely new, complex flavor compounds as the bacteria work, which is why fermented hot sauces tend to taste deeper and more rounded than a quick vinegar-based version.
The salt in the brine isn’t just for flavor — it’s doing real protective work. A properly salted brine, generally in the range of 2 to 3.5% salt by weight of the total mixture, creates an environment that favors salt-tolerant lactobacillus bacteria while suppressing the growth of harmful bacteria and mold, which is what makes controlled fermentation safe rather than just letting food rot on a counter.
What You’ll Need
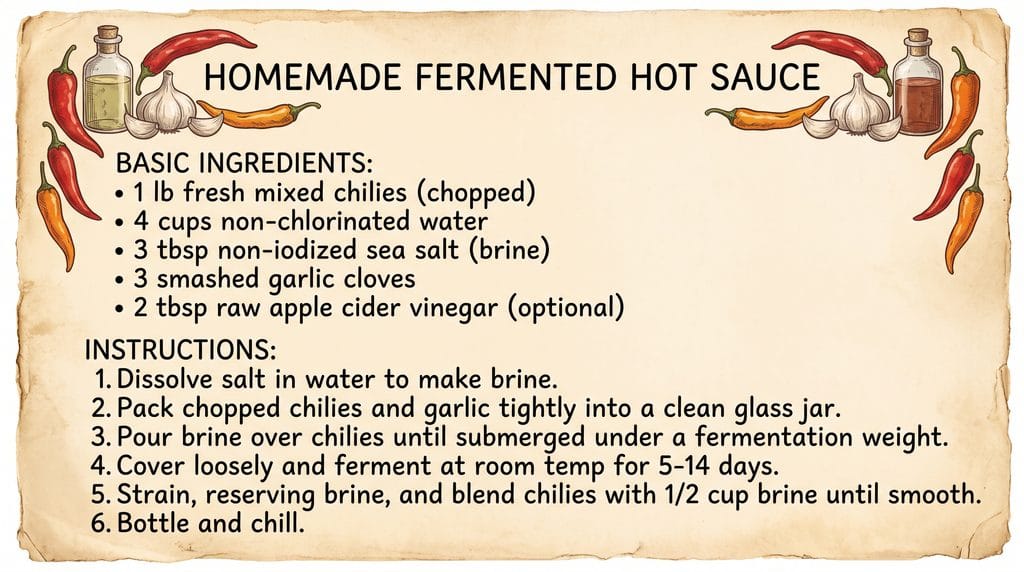
A base of fresh chilies — roughly a pound, any variety or mix of varieties you like, stems removed and roughly chopped. Filtered or non-chlorinated water, since chlorine can interfere with the fermentation bacteria you’re trying to encourage. Non-iodized salt, like kosher or sea salt, since iodine and anti-caking agents in table salt can also disrupt fermentation. A clean glass jar with enough room for the chilies to be fully submerged with a couple inches of headspace above, and something to weigh the chilies down under the brine, which fits seamlessly into our glass jar pantry organization.
The Base Fermented Hot Sauce Method
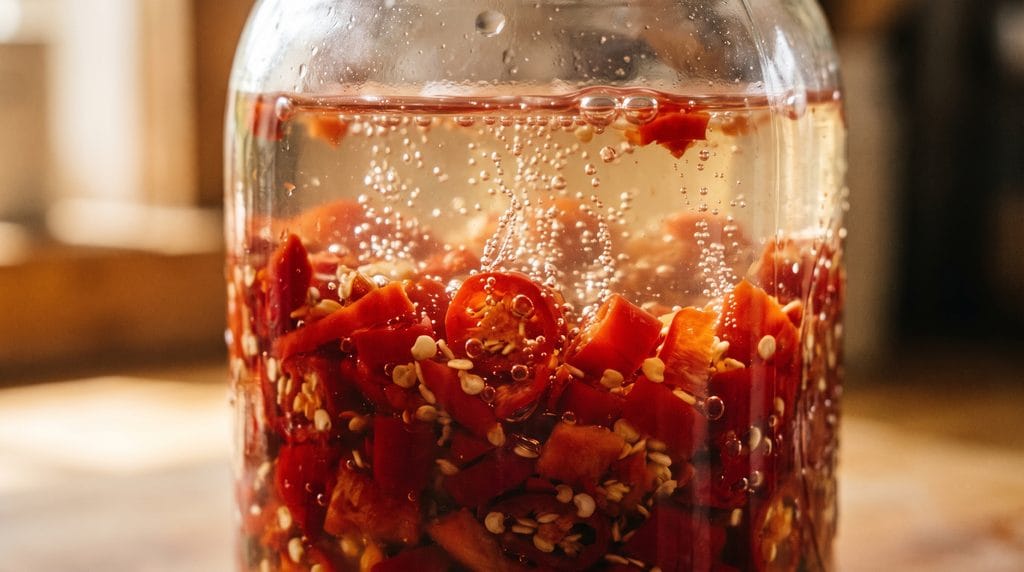
Make a brine using roughly 3 tablespoons of salt per 4 cups of water, stirring until fully dissolved. Pack the chopped chilies into your jar along with a few smashed garlic cloves if you like, then pour the brine over until everything is fully covered by at least an inch. Weigh the chilies down so nothing floats above the surface of the brine — anything exposed to air is at higher risk of mold, which is the single most common issue beginners run into.
Cover loosely with a lid, cloth, or a fermentation airlock if you have one, since gas needs somewhere to escape as the fermentation produces carbon dioxide. Leave it at room temperature, out of direct sunlight, for 5 to 14 days. You’re looking for cloudy brine, small bubbles rising, and a smell that shifts from raw chili to something tangier and more complex. Taste it starting around day 5 — when the sourness and flavor feel balanced to you, it’s done fermenting.
Turning It Into Sauce
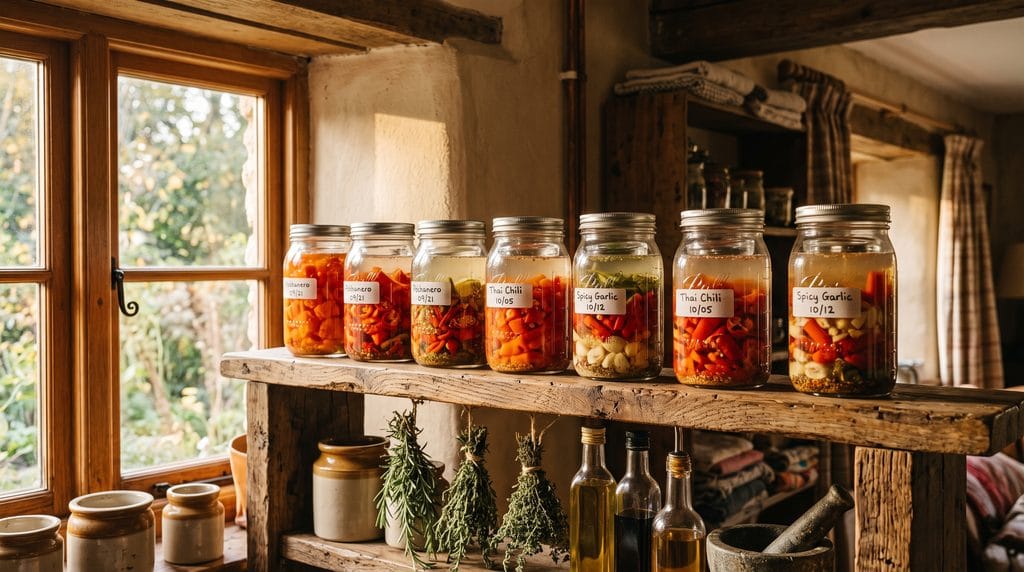
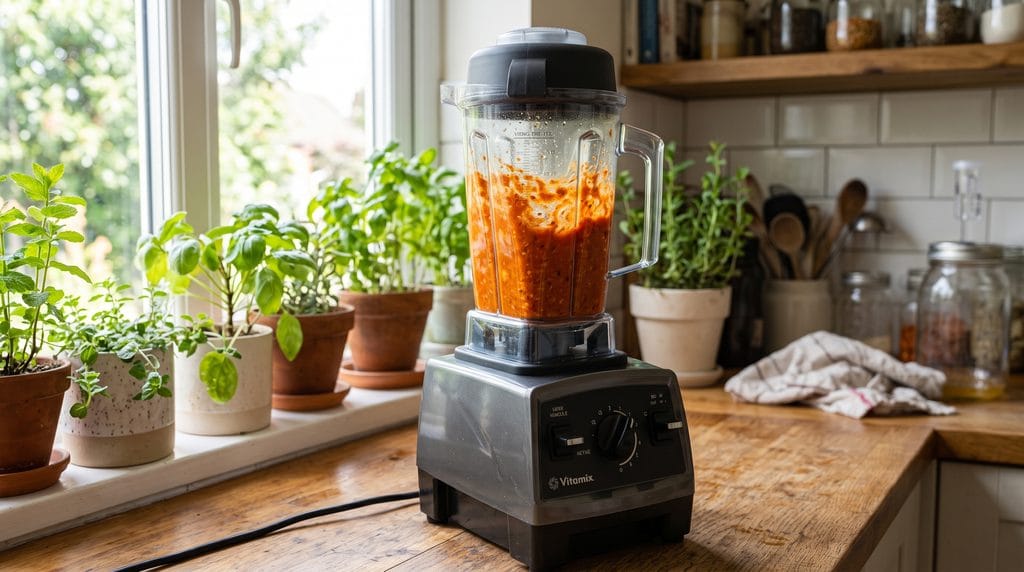
Once fermentation tastes right to you, strain the chilies from the brine, reserving the liquid. Blend the chilies with enough of the reserved brine to reach a pourable consistency — start with a half cup and add more as needed. A splash of white vinegar at this stage helps stabilize the pH further and extends shelf life, though it’s optional if you want a purely fermented flavor with nothing added. Taste and adjust with a little extra salt or a touch of sweetener if it needs rounding out, much like balancing heat and sweetness in our homemade hot honey condiment.
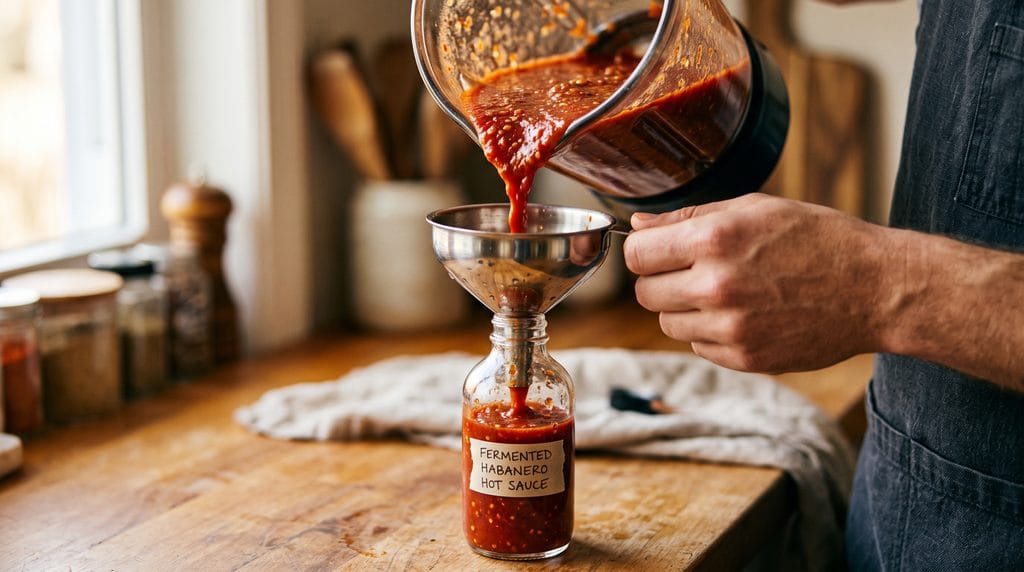
Strain the blended sauce through a fine mesh strainer for a smoother, pourable texture, or leave it unstrained for something thicker and more rustic. Bottle it in clean glass bottles and store in the fridge, where it will keep for several months, continuing to mellow and develop slightly even after bottling.
Reusing Your Brine for the Next Batch
Once you’ve strained out the chilies, don’t pour that leftover brine down the drain. It’s already carrying an active, established population of the same lactobacillus bacteria that did all the work in this batch, which means using a splash of it to kickstart your next jar of chilies gives that new batch a head start — fermentation tends to get going faster and more reliably with some already-active brine in the mix, similar to how maintaining our beginner sourdough starter speeds up a new loaf compared to starting completely from scratch each time. Keep a small jar of it in the fridge between batches if you plan on making this a regular pantry project rather than a one-off.
Troubleshooting: What’s Normal and What’s Not
Cloudy brine, small bubbles, and a tangy smell are all signs fermentation is working correctly. A layer of white, filmy yeast on the surface — sometimes called kahm yeast — is common and harmless, though it should be skimmed off before blending since it can affect flavor if left in. Fuzzy mold in any color other than white, or a smell that’s genuinely putrid rather than sour, means something went wrong and that batch should be discarded rather than risked.
The most common cause of a failed batch is exposed chilies floating above the brine line, so double-checking your weight is doing its job in the first couple of days is worth the extra minute.
Frequently Asked Questions
Is fermented hot sauce actually safe to make at home?
Yes, when the salt ratio and full submersion are handled correctly — this is the same basic method behind sauerkraut and traditional pickles, both long-established safe home fermentation practices. If you ever see mold in colors other than white, or the smell is off in a way that seems genuinely rotten rather than sour, discard the batch rather than taste-testing your way through uncertainty.
How hot will the finished sauce be compared to the raw chilies?
Roughly similar, though fermentation can soften some of the sharper, more one-note heat into something slightly rounder and less aggressive, since a portion of the capsaicin mellows alongside the other flavor changes happening during the process.
Can I use a mix of different chili varieties?
Absolutely, and it’s a good way to build more complexity into the final flavor. Mixing something mild and fruity with something sharper and hotter often makes a more interesting sauce than a single variety alone.
Why does my sauce taste less sour than store-bought hot sauce?
Store-bought sauces are usually vinegar-based and hit a consistent, sharp acidity immediately. Fermented sauce develops its acidity more gradually and often lands milder and more rounded unless you add vinegar at the blending stage to sharpen it further.
How long does the finished sauce actually last?
Refrigerated, a properly fermented hot sauce keeps for several months, sometimes longer, since the lactic acid produced during fermentation is itself a natural preservative working alongside the salt and cold storage.
Make a batch and see what a real fermented hot sauce tastes like next to the bottled version — more pantry projects like this live over on @Nourish_Rituals.
