
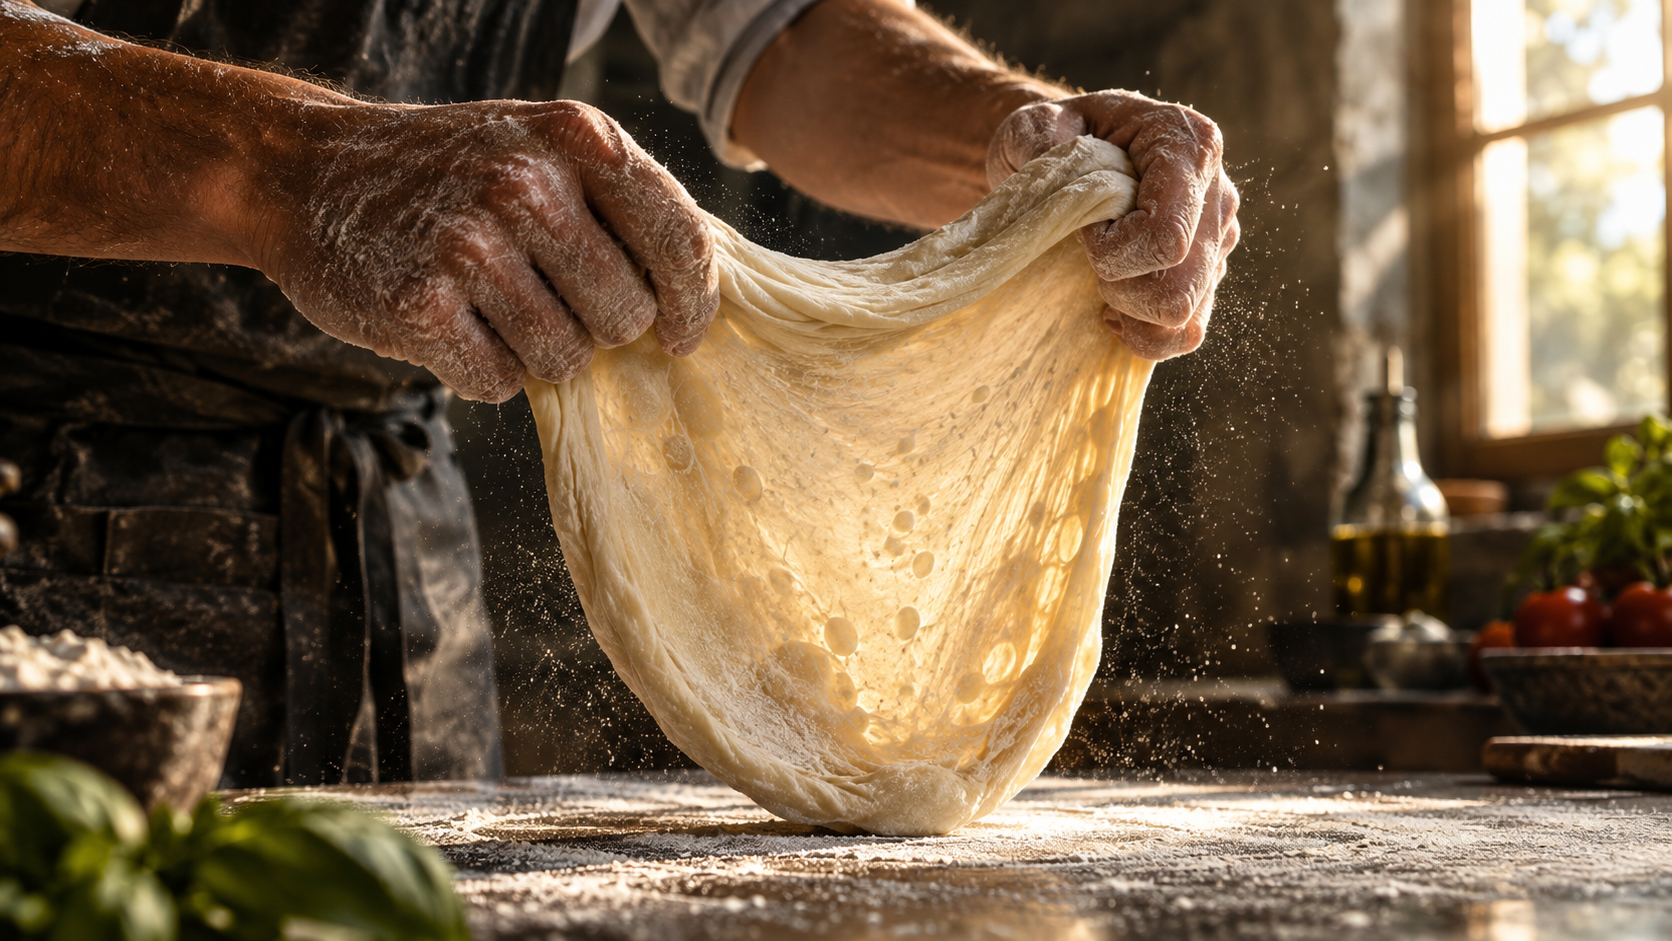
“Pizza dough recipe” is one of those searches that never slows down — it didn’t twenty years ago, and it won’t in twenty more, because pizza isn’t a trend, it’s a permanent fixture. What does change is how people make it: home pizza ovens, focaccia-pan pizza, and grandma-style square slices have all pushed dough technique back into the spotlight recently, which means more people than ever are hitting the exact same wall — dough that tastes like bread instead of pizzeria crust, with none of that chewy-crisp, slightly charred structure. The fix isn’t a secret ingredient. It’s understanding what gluten and fermentation are actually doing, and giving them enough time to do it.
Jump to: Why homemade dough falls short · The master recipe · Why cold ferment matters · Troubleshooting · 4 dough variations · FAQ
Why Most Homemade Dough Falls Short
There are two things separating decent pizza dough from genuinely great pizza dough, and almost neither one is about the ingredient list: gluten development and fermentation time. Most quick recipes rush both, which is why the crust comes out dense, pale, and more like a dinner roll than a pizzeria crust.
What Gluten Actually Is
Flour contains two proteins, glutenin and gliadin, that don’t do much on their own. Add water and start kneading or mixing, and those proteins link together into long, elastic strands called gluten — think of it as a stretchy net forming throughout the dough. According to cereal science research on gluten protein networks and gas cell retention, that cohesive matrix is what traps the carbon dioxide gas produced during fermentation and allows thin stretching without structural tearing. Under-kneaded dough has a weak, short gluten network, which is the single biggest reason homemade pizza dough tears when you try to stretch it or collapses into a flat, dense disc instead of puffing at the edges.
What Fermentation Is Actually Doing
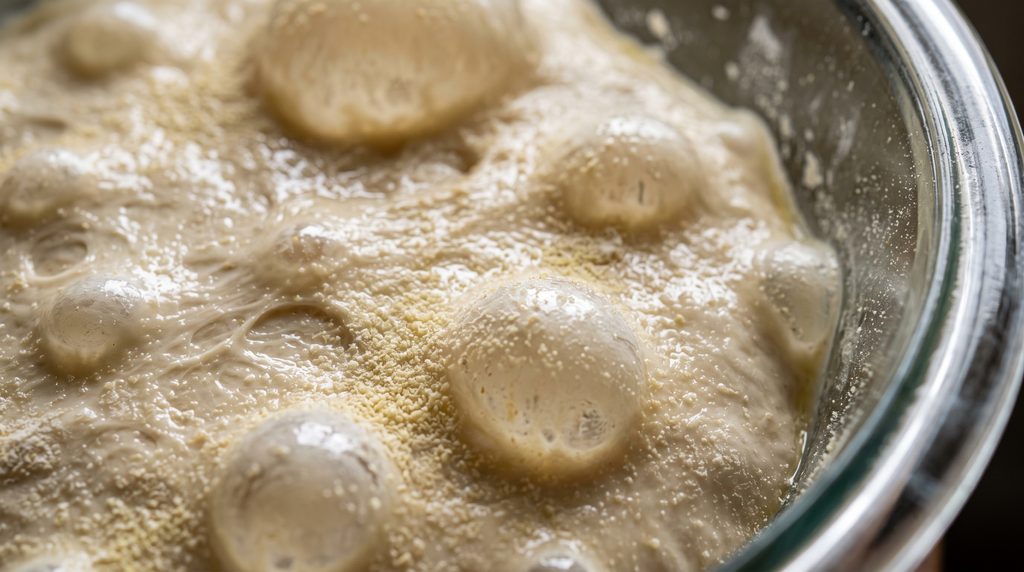
Yeast eats the sugars in flour and produces two things as a byproduct: carbon dioxide, which is trapped by the gluten network and makes the dough rise, and ethanol along with a range of other flavor compounds, including organic acids that develop over time. A dough fermented for an hour has barely started this process. A dough fermented in the fridge for 24 to 72 hours develops dramatically more of those flavor compounds, along with a more complex, slightly tangy depth that fast-proofed dough simply doesn’t have time to build, similar to the flavor development in our beginner sourdough starter guide. This is the actual reason pizzeria dough tastes different from a thirty-minute homemade version — it’s not a secret flour, it’s time.
The Master Homemade Pizza Dough Recipe
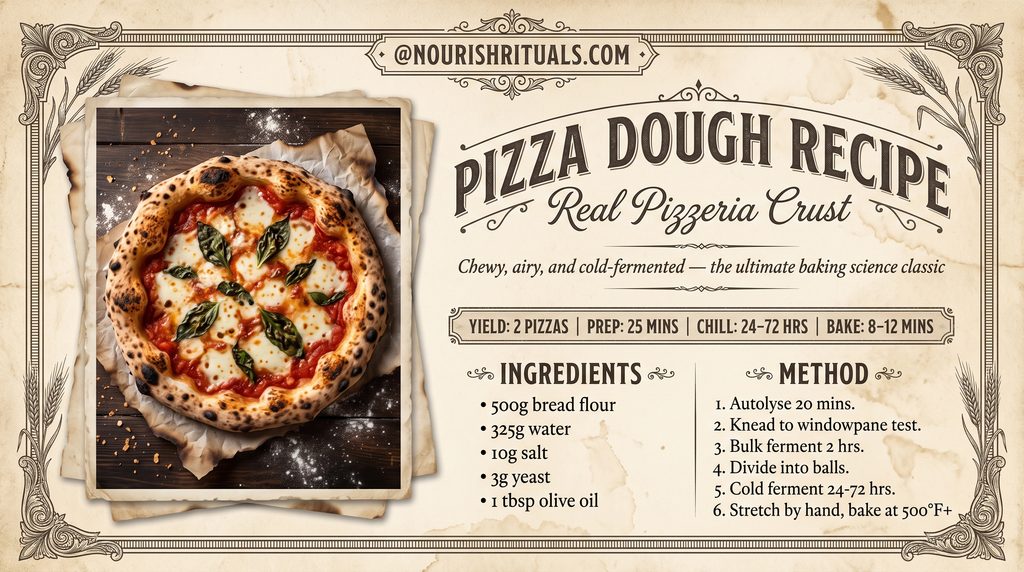
Ingredients (makes two 12-inch pizzas):
- 500g (about 4 cups) bread flour (higher protein content than all-purpose, meaning more gluten-forming potential)
- 325g (about 1 1/3 cups) water, room temperature
- 10g (about 2 teaspoons) salt
- 3g (about 1 teaspoon) instant yeast
- 1 tablespoon extra virgin olive oil
Method:
- Combine flour and water first, without salt or yeast, and let it rest for 20–30 minutes. This step, called autolyse, lets the flour fully hydrate and allows some gluten to begin forming passively before any kneading starts, which reduces the total kneading time needed later and results in a more extensible dough.
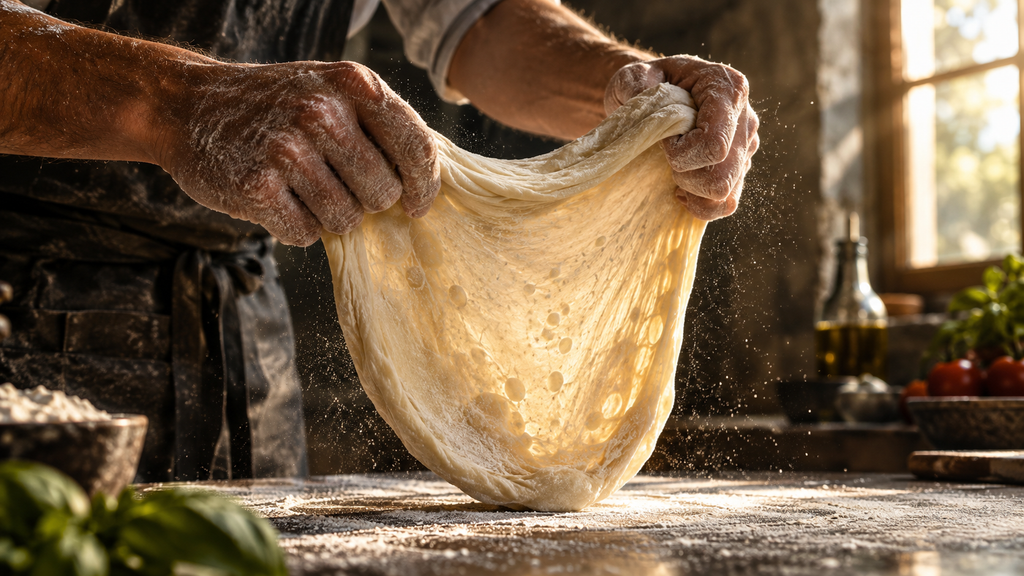
- Add the yeast, salt, and olive oil, then knead for 8–10 minutes by hand or 5–6 minutes in a stand mixer, until the dough is smooth and passes the “windowpane test” — stretch a small piece between your fingers; if it stretches thin enough to see light through without tearing, the gluten network is developed enough.
- Bulk ferment at room temperature for 1–2 hours, until roughly doubled.
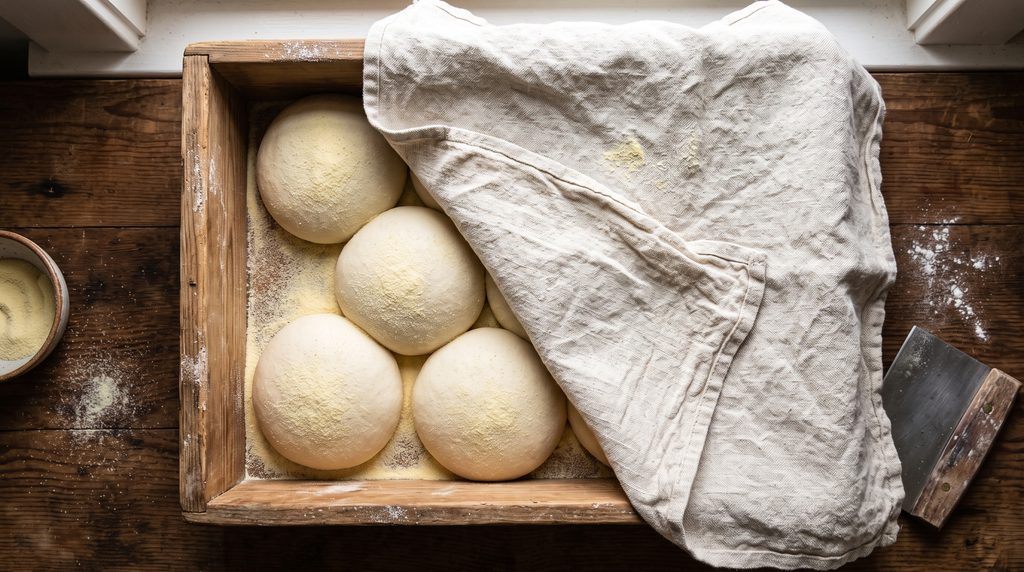
- Divide into two balls, shaping each by tucking the edges under to build surface tension — this creates a tighter outer gluten shell that helps the dough hold its shape during the long ferment ahead.
- Cold ferment in the fridge for 24 to 72 hours, covered. This is the step that separates good dough from great dough. Pull it out about an hour before you plan to stretch it, to let it come back closer to room temperature, which makes it far easier to shape without fighting the gluten’s elasticity.
- Stretch, don’t roll. A rolling pin compresses and pushes out the gas bubbles built up during fermentation, flattening the structure you spent days developing. Stretch by hand from the center outward instead, preserving the air pockets that create a light, airy crust.
- Bake as hot as your oven will go, ideally 500°F (260°C) or higher, on a preheated pizza stone or steel for 8–12 minutes. High heat is what creates real oven spring — the dramatic rise and char you see on pizzeria crust — because intense heat causes the trapped gas to rapidly expand before the crust has a chance to fully set, while simultaneously triggering the Maillard reaction on the surface for that deep golden-brown color and flavor, applying the same heat science we explore in baking and reviving bread in the oven.

Why the Cold Ferment Matters This Much
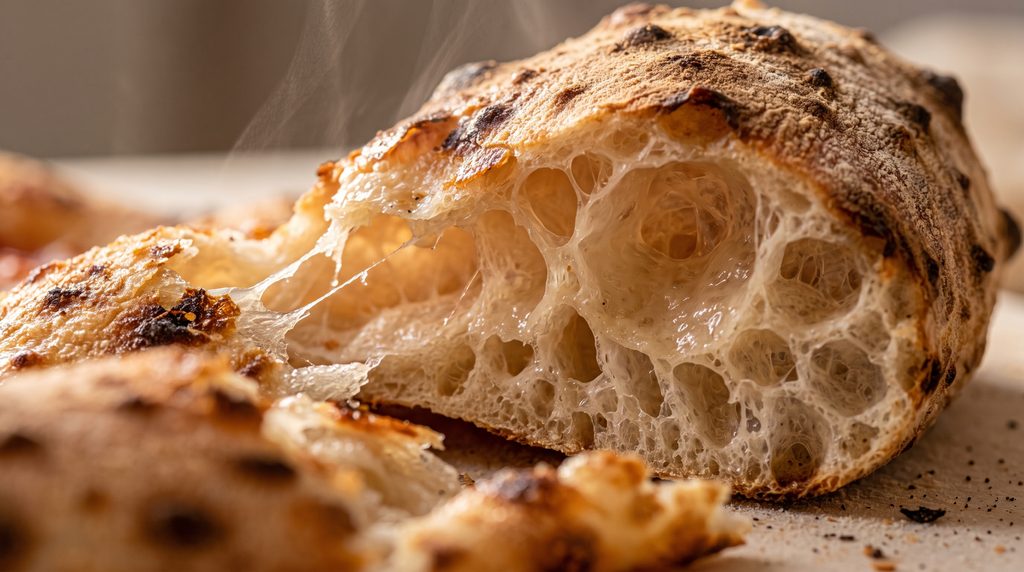
It’s worth dwelling on this because it’s the step people skip most often, usually out of impatience, and it’s the one with the biggest actual impact on the final result. Cold temperatures slow yeast activity dramatically without stopping it, which means fermentation continues at a much slower pace over days instead of hours. That slower pace changes the balance of byproducts yeast produces — more complex organic acids and flavor compounds develop relative to the simple carbon dioxide and ethanol you’d get from a fast, warm rise. At the same time, enzymes naturally present in the flour have more time to break down some of the starches into simpler sugars, which both feeds the yeast further and contributes to better browning in the oven, since more available sugar means more Maillard and caramelization potential on the crust’s surface. A dough fermented 72 hours and a dough fermented 1 hour, baked side by side from the same recipe, are recognizably different in both flavor and crust structure.
Troubleshooting
My dough tears when I try to stretch it. This almost always means underdeveloped gluten — either it wasn’t kneaded long enough, or it didn’t get enough resting time for the gluten to relax before shaping. Let it rest another 15–20 minutes at room temperature and try again.
My crust came out dense and bread-like instead of airy. Likely causes are insufficient fermentation time (rushing the cold ferment, or skipping it entirely) or a rolling pin flattening out the air pockets during shaping.
My dough is sticky and impossible to work with. This is usually a hydration issue relative to your flour’s protein content, or the dough hasn’t had its full autolyse and kneading time to build enough structure to hold its shape. Storing flour in dry, airtight glass jar pantry storage ensures consistent flour moisture before you bake. A light dusting of flour while shaping helps, but avoid working in much extra flour, which throws off the hydration ratio you’re aiming for.
Four Variations Worth Trying
Grandma-style pan pizza — press the dough into an oiled rectangular pan instead of stretching it round, let it rise once more in the pan for an hour, then bake at high heat for a crisp, fried-bottom edge.
Whole wheat blend — substitute up to 25% of the bread flour with whole wheat for a nuttier flavor; whole wheat flour absorbs more water, so you may need to increase hydration slightly to compensate.
Focaccia-style thick crust — skip the thin stretch, press the dough into a well-oiled pan, dimple the surface with your fingers, and top simply with olive oil, flaky salt, and rosemary before baking.
Garlic and herb dough — fold finely minced garlic and chopped rosemary into the dough during the final knead, or drizzle finished crusts with safe homemade herb-infused oil.
FAQ
Can I use active dry yeast instead of instant yeast?
Yes, just dissolve it in a small portion of the water first and let it sit until foamy, about 5–10 minutes, before combining with the rest of the ingredients.
Why does the recipe use weight measurements instead of cups?
Flour measured by volume can vary by as much as 20% depending on how it’s scooped, which directly affects hydration and gluten development. Weight measurements are the only way to get consistent results batch after batch.
Can I freeze the dough instead of using it within a few days?
Yes, after the bulk ferment, portion and freeze the dough balls, then thaw in the fridge overnight before bringing to room temperature and shaping as usual.
Why does my pizza stick to the peel when I try to slide it into the oven?
This usually means the dough sat too long on the peel before baking, letting moisture seep through. Work quickly once the dough is stretched, and use a generous dusting of semolina or cornmeal underneath, which acts like tiny ball bearings.
Do I really need a pizza stone or steel?
Not strictly, but it makes a real difference. A preheated stone or steel stores and delivers intense, consistent heat directly to the dough’s underside, which is critical for the fast, high-heat oven spring a regular baking sheet can’t replicate as effectively.
If baking breakdowns like this are your thing, I’m sharing more slow-living kitchen science daily on Pinterest — come save this one for later.
