
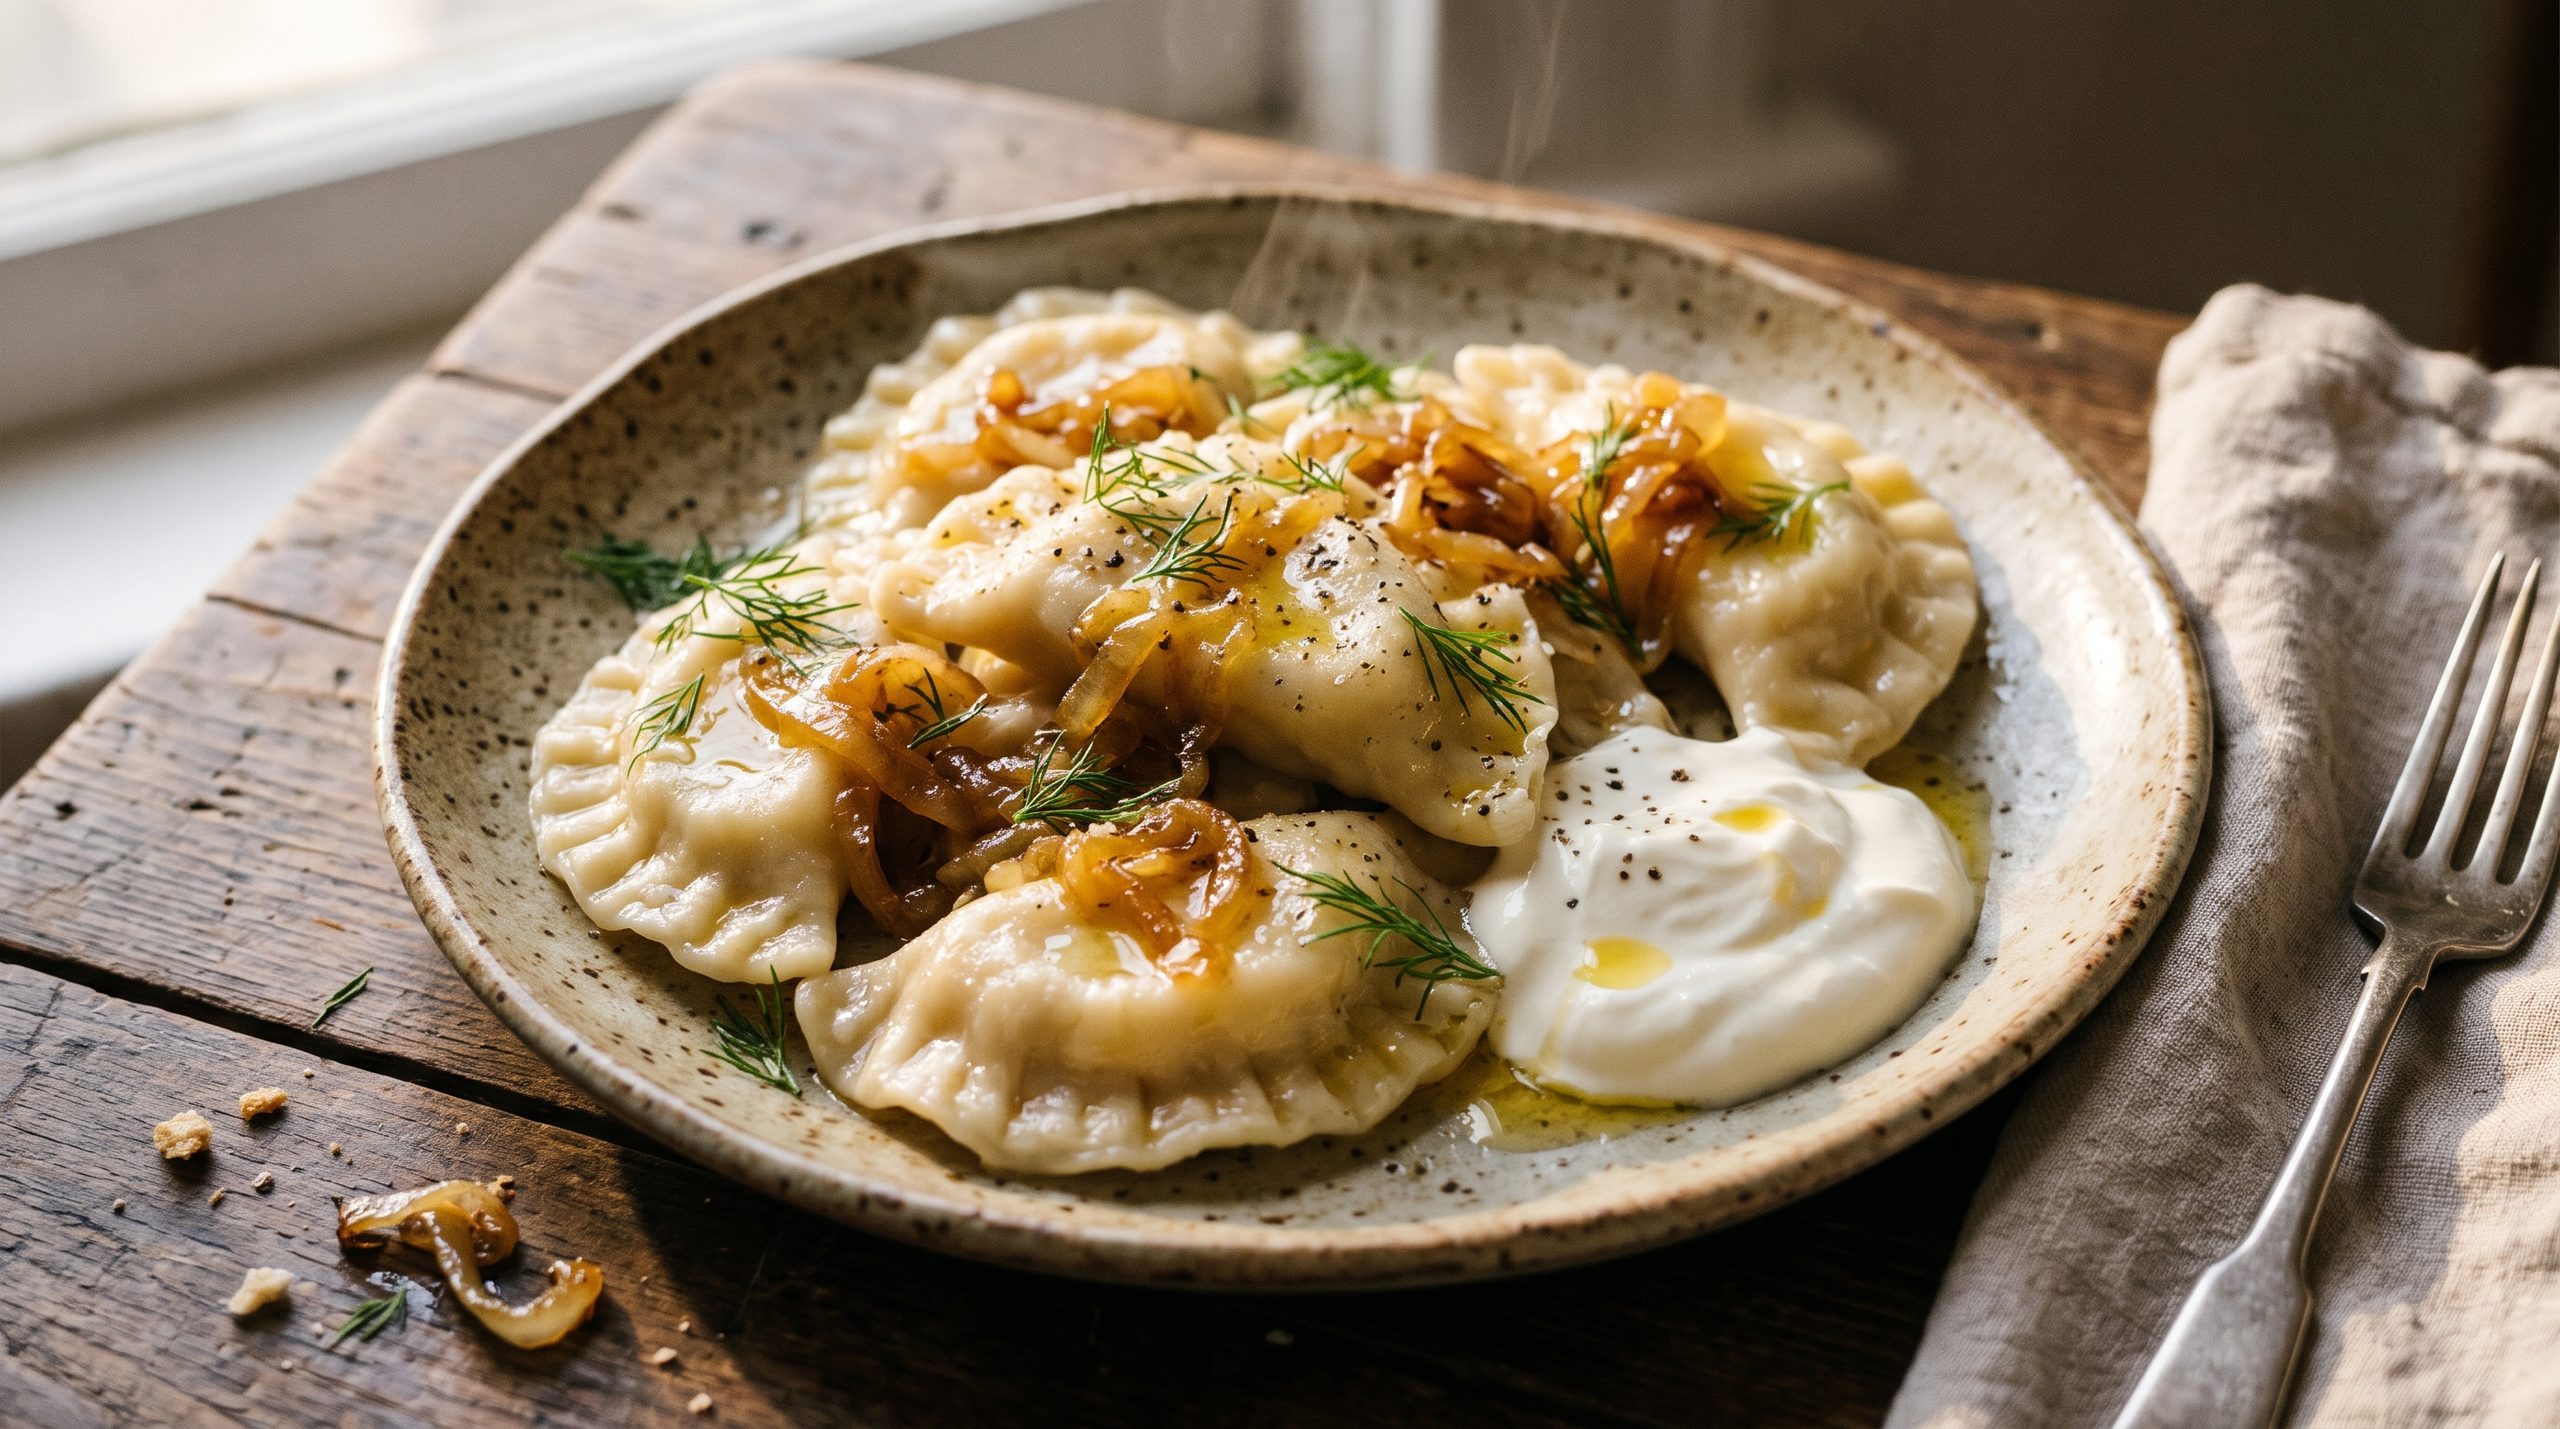
Mastering an authentic Ukrainian varenyky recipe started for me with a memorable kitchen lesson. Let me tell you about the first time I made varenyky by myself. I rolled the dough, stuffed it, pinched it, and dropped the whole batch into boiling water with great confidence.
Five minutes later I fished out a pot of sad, empty dough sheets and floating mashed potato. Half of them had burst open.
It stung a little. But it also taught me that varenyky aren’t hard, they’re just picky about three small things: the dough, the filling, and the water. Get those right, and you get soft, glossy, tender dumplings that stay closed every time, standing proudly alongside our traditional ruby red Ukrainian borscht recipe on a slow weekend table.
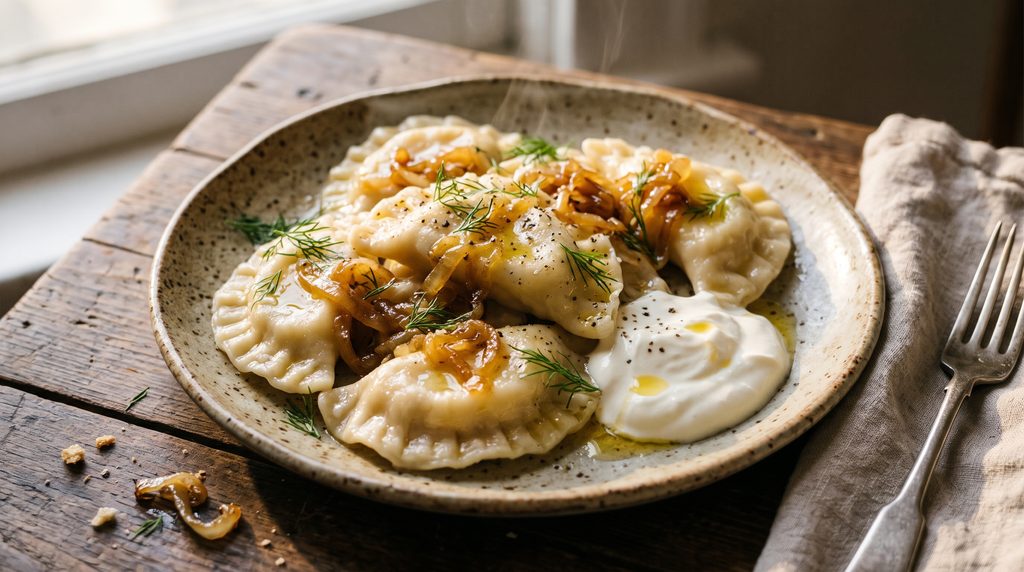
Jump to: What are varenyky · Why varenyky burst · The dough secrets · Potato filling · Ingredients · Step-by-step recipe · How to freeze · 5 variations · Troubleshooting · FAQ
What Are Varenyky?
Varenyky (вареники) are Ukrainian dumplings made from a simple unleavened dough wrapped around a filling, then boiled. The name comes from the verb for “to boil.” The most beloved filling is mashed potato with fried onion, but you’ll also find sauerkraut, mushrooms, farmer’s cheese, and sweet fruit.
They’re comfort food in its purest form. As I always say in my philosophy behind NourishRituals, if an ordinary cook can’t recreate it on an ordinary evening with simple kitchen staples, it doesn’t belong here. No fancy tools, no special flour, just a rolling pin, a glass, and a little patience. And since you make a big batch and freeze half, they’re one of the most useful things to have in a freezer on a busy week.
Why Varenyky Burst (And How to Stop It)
Before jumping into the full Ukrainian varenyky recipe, let me save you my failed batch. There are four main reasons dumplings burst, and they’re all fixable.
1. The Dough Is Too Tight
When you knead flour and water, two proteins, glutenin and gliadin, link up to form gluten. Glutenin gives the dough strength and snap-back. Gliadin gives it stretch. According to food science research on wheat gluten protein networks, mechanical kneading aligns these proteins into an elastic matrix that requires adequate resting time to relieve internal tension and complete starch hydration.
Freshly kneaded dough is all snap-back. If you roll and shape it right away, it fights you, and the thin spots tear. A 30-minute rest lets the gluten network relax and the flour finish absorbing water. The dough turns from stubborn to soft and stretchy.
2. The Filling Is Wet or Hot
Hot filling releases steam inside the dumpling. In boiling water, that trapped steam expands, and the weakest seam gives. A wet filling makes the dough soggy from the inside, so it tears.
That’s why I cool the filling completely and keep the mash thick. Potatoes should be drained well and left to steam off for a couple of minutes.
3. The Seam Isn’t Sealed
A little flour on the edge acts like a barrier, and the two layers of dough can’t stick together. Keep the edges clean and dry, and pinch firmly all the way around. If your dough is a bit dry, wet your fingertip with water and dab it along the edge.
4. The Water Is Boiling Too Hard
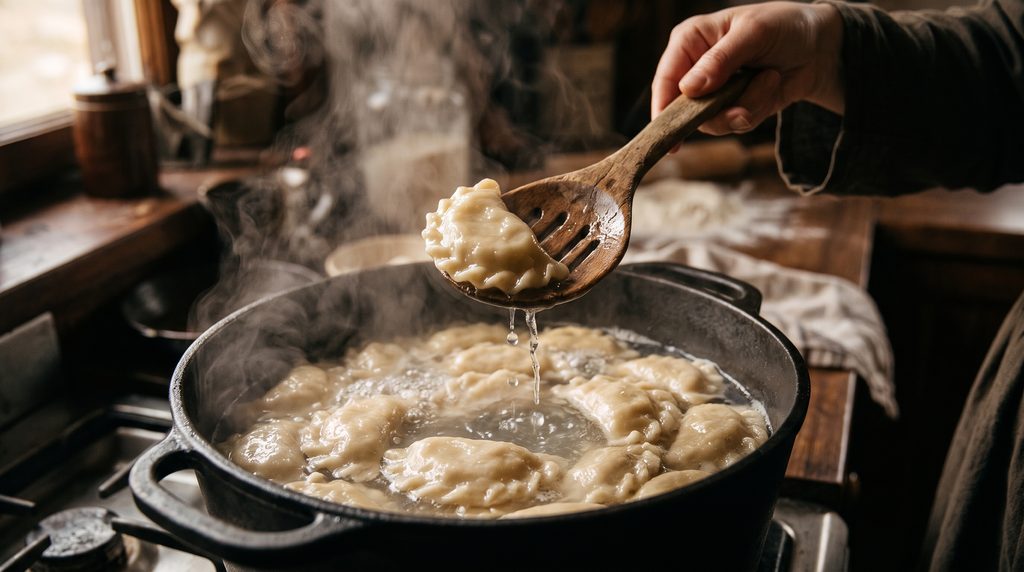
A rolling boil knocks the dumplings against each other and the pot. A gentle boil is plenty.
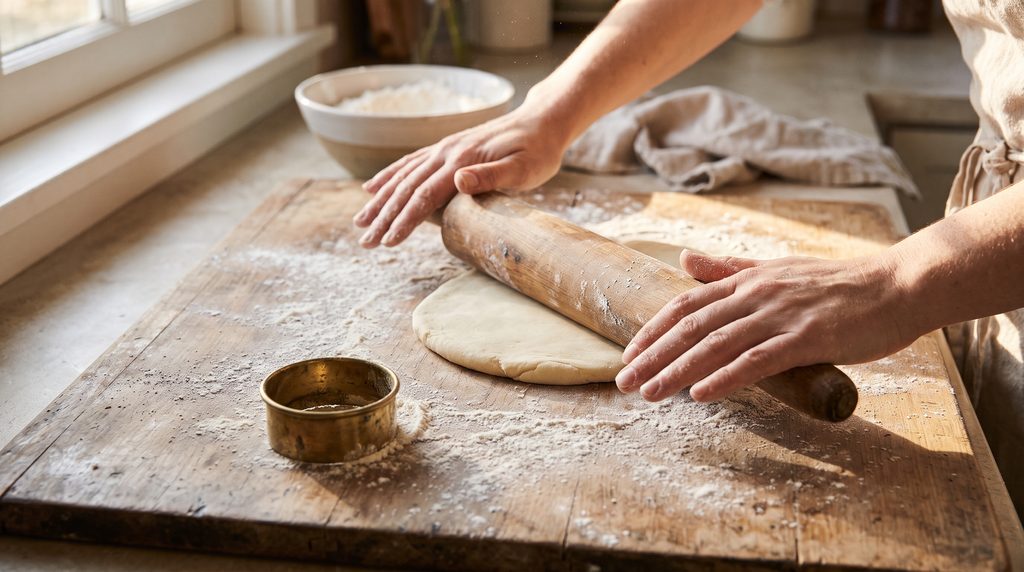
The Dough: Soft, Stretchy, Forgiving
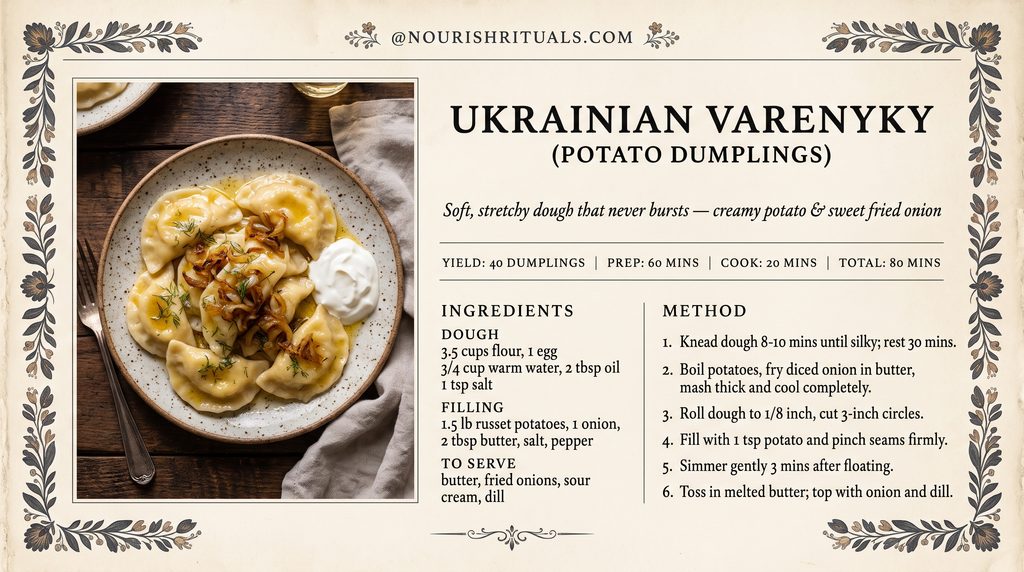
My dough uses just five things: flour, an egg, warm water, a little oil, and salt.
Each one has a job:
- Egg: The proteins set when heated, which gives the cooked dough structure so it doesn’t turn mushy.
- Oil: Fat coats the gluten strands and keeps them from forming too tightly, so the dough stays tender instead of chewy.
- Warm water: Helps the flour hydrate faster and makes the dough easier to knead.
- Salt: Seasons the dough and strengthens the gluten a little.
Kneading takes about 8 to 10 minutes by hand. It’ll feel sticky at the start. Don’t add lots of flour. Keep going, and it turns smooth and soft, like an earlobe. That’s the texture you want.
The Filling: Potatoes and Sweet Fried Onion
This is the classic. It looks simple, and it’s the one that disappears fastest at my table.
Use starchy potatoes like russets, because they mash dry and fluffy. Waxy potatoes turn gluey and gummy. Boil them until completely tender, drain well, and let them steam off.
The onion matters more than you’d think. Cook it slowly in butter for 8 to 10 minutes until golden. That slow heat browns the sugars and builds sweetness, which balances the plain potato. Mash it all together, season boldly (potato eats a lot of salt), and cool it completely.
Ingredients
For the dough:
- 3½ cups (440 g) all-purpose flour
- 1 large egg
- ¾ cup (180 ml) warm water, plus a tablespoon or two if needed
- 2 tbsp neutral oil
- 1 tsp salt
For the filling:
- 1.5 lb (700 g) russet potatoes
- 1 large onion, finely diced
- 2 tbsp butter or sunflower oil
- 1 tsp salt, ¼ tsp pepper
To serve:
- Melted butter, fried onion, sour cream, and fresh dill
Ukrainian Varenyky Recipe: How to Make Them Step by Step
Step 1: Make and Rest the Dough
Mix the flour and salt in a big bowl. Add the egg, oil, and warm water. Stir until it comes together, then knead on the counter for 8 to 10 minutes. Cover with a bowl or cloth and rest for 30 minutes.
Step 2: Make the Filling
Boil the potatoes until fork-tender, about 15 to 20 minutes. Drain and let them sit for 2 minutes so the steam escapes. Meanwhile, fry the onion in butter until golden. Mash the potatoes with the onion, salt, and pepper. Spread the filling on a plate so it cools faster.
Step 3: Roll and Cut
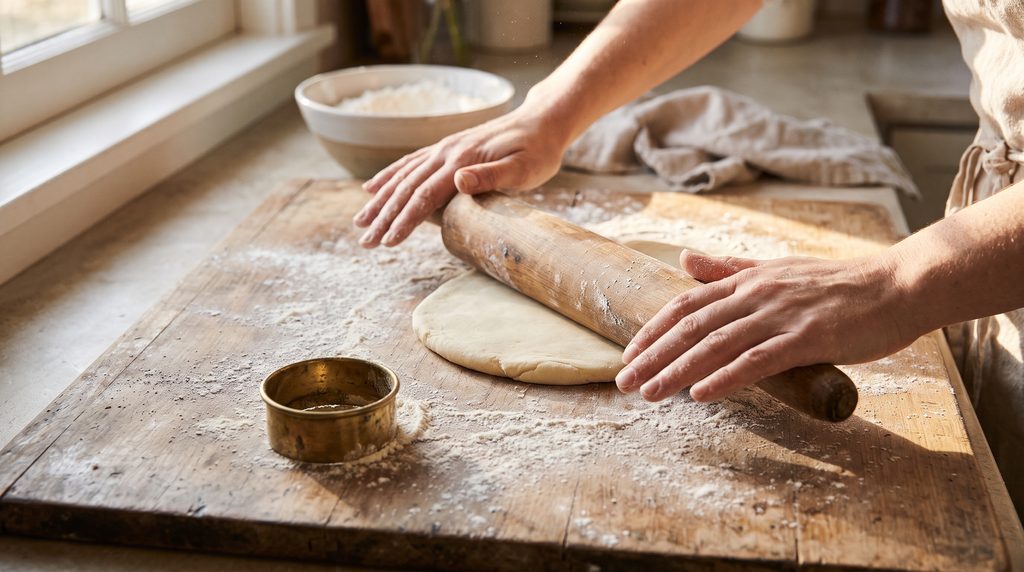
Divide the dough in half and keep one half covered. Roll the other to about ⅛ inch (3 mm) thick, which is thin but not see-through. Cut circles with a 3-inch cutter or a glass.
Step 4: Fill and Pinch
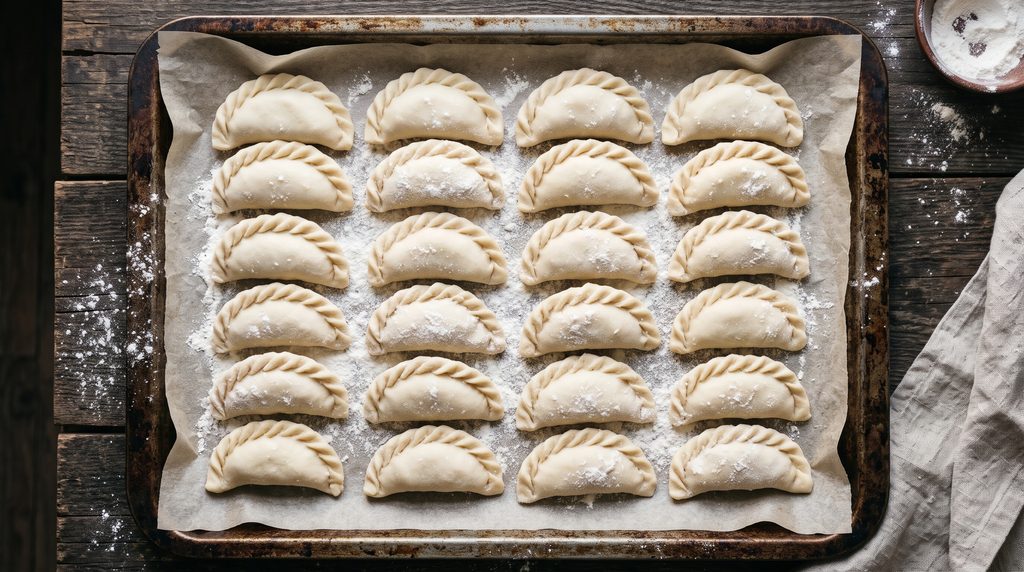
Put a heaped teaspoon of filling in the center of each circle. Don’t overfill. Fold into a half-moon and pinch the edge firmly all the way around. Place the finished ones on a floured tray, not touching.
Step 5: Boil Gently
Bring a big pot of salted water to a gentle boil. Add 10 to 12 varenyky, stir once so they don’t stick to the bottom, and wait. When they float, give them about 3 more minutes. Scoop them out with a slotted spoon.
Step 6: Butter Right Away
Toss them in melted butter while they’re hot. This stops them sticking into one clump and makes them shiny. Serve with fried onion, sour cream, and a handful of dill.
How to Freeze Varenyky
This is the best part. Freezing is how I turn one Sunday of folding into several easy dinners.
Place the uncooked varenyky on a floured tray in a single layer, with space between them. Freeze for about 1 hour until firm, then move them into a bag or container. Without that first step, they freeze into one big block.
Cook straight from frozen. Don’t thaw. Drop them in gently boiling water, and when they float, cook for 6 to 7 minutes more.
5 Filling Variations
The same dough works for almost anything. Here are five to try:
- Potato and mushroom. Add sautéed mushrooms to the mashed potato. Earthy and rich.
- Sauerkraut. Squeeze the kraut dry, fry it with onion, and let it cool. I use the kraut from my aesthetic fermented sauerkraut jar ritual, and the tangy bite is great with butter.
- Farmer’s cheese and dill. Mix farmer’s cheese with an egg yolk, salt, and fresh dill. Soft, creamy, and a little tangy.
- Sour cherry. Toss pitted cherries with sugar, let the juice drain off, and mix in a spoon of starch. Serve with sour cream and a sprinkle of sugar. Use frozen cherries if fresh aren’t in season, thawed and drained well.
- Potato and bacon. Fry diced bacon with the onion for a smoky, salty version. Much like prepping our crispy cabbage breakfast hash, rendering savory fat adds deep rustic comfort.
Troubleshooting
They burst in the water.
Check four things: was the dough rested, was the filling cooled and thick, were the edges clean and well pinched, and was the water at a gentle boil, not a hard one?
The dough is tough.
It may have too much flour, or it wasn’t rested long enough. Next time, add water by the spoonful and give it the full 30 minutes. Rolling it too thick also makes it chewy.
They stick together in the pot.
Stir once right after dropping them in, and use plenty of water. Don’t crowd the pot.
The filling is gummy.
You probably used waxy potatoes or over-mashed them. Use russets and mash by hand.
The filling leaks out.
You overfilled, or there was flour on the edges. One heaped teaspoon is enough.
They’re bland.
Salt the water well, season the filling boldly, and don’t skip the fried onion.
FAQ
What’s the difference between varenyky and pierogi?
They’re close relatives. Varenyky is the Ukrainian name, pierogi is the Polish name, and both are filled dumplings. Fillings and little habits differ by family and region.
Can I make varenyky dough ahead?
Yes. Wrap it tightly and refrigerate for up to 24 hours. Let it come to room temperature for 20 minutes before rolling.
Do I need an egg in the dough?
Not strictly. Many families make it with just flour, water, and salt, and it works. The egg makes the dough slightly stronger and more forgiving, which helps a beginner.
How do I reheat leftover varenyky?
Fry them in butter in a pan over medium heat until golden and crisp on both sides. This is my favorite way to eat them.
Can I bake varenyky instead?
You can, but it’s a different dish. Boiling sets the soft, tender texture. If you want a crisp version, boil first, then pan-fry.
Varenyky take time, and the first batch will probably look a little wonky. That’s fine. Mine did too. By the second tray, your hands know what to do.
Put on some music, roll out the dough, and make it a ritual. If you try it, write to me and tell me how it went. I read every message.
Want more cozy recipes and slow-living ideas? Follow me on Pinterest for fresh ideas every day.

Leave a Reply